How to Make
Wafer Paper Ruffles and Bows
Breakfast at Tiffany's Cake Part 2
- Home Page
- Cake Decorating Techniques & Tips
- Wafer Paper Ruffles
THIS POST MAY CONTAIN AFFILIATE LINKS, WHICH MEANS I’LL RECEIVE A COMMISSION IF YOU PURCHASE THROUGH MY LINKS, AT NO EXTRA COST TO YOU. PLEASE READ PRIVACY POLICY AND DISCLOSURE FOR MORE INFORMATION.
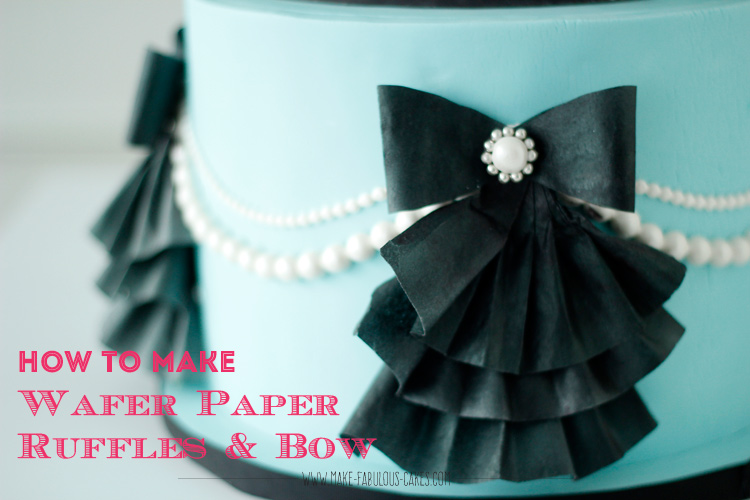
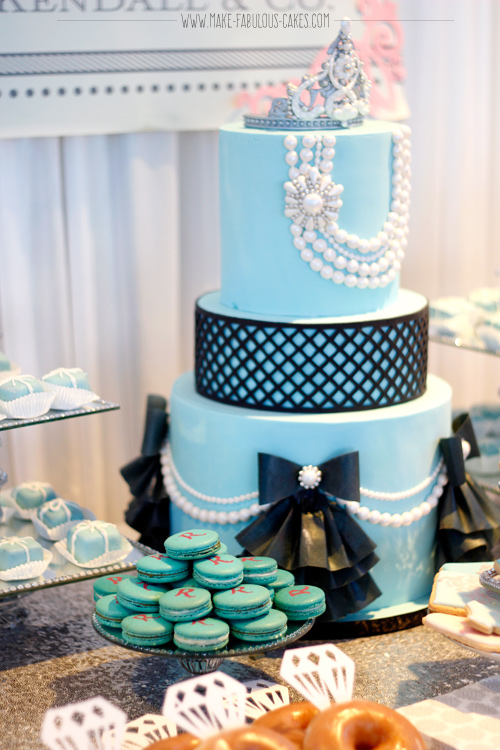
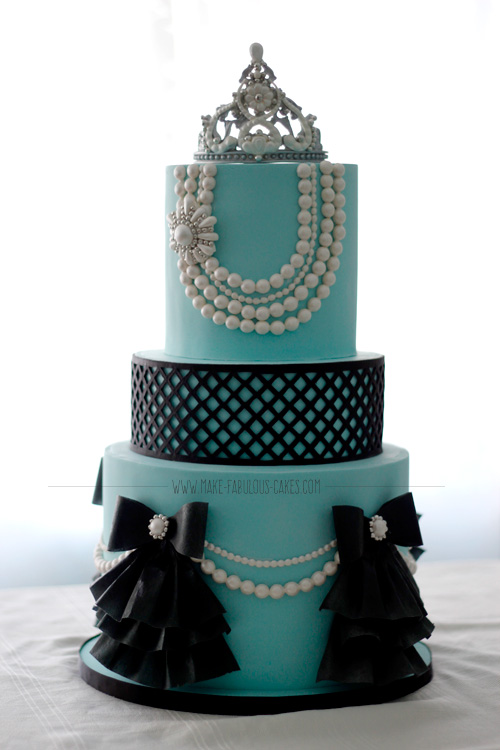
Here is a tutorial on how I made the ruffles and bow on the bottom tier of the Breakfast at Tiffany’s first birthday cake. Check out more details of the cake and dessert table here.
I wanted the ruffles to be reminiscent of little girl’s tutu skirts and I wanted it to look light and airy. I’ve been playing with wafer paper recently and I thought it would be perfect medium to give that look of lightness and airiness.
I wanted the cake to be high so that I have plenty of room to add ruffles and bows. The cake is 10” in diameter and 7” high.
How to Make Wafer Paper Ruffles and Bow
YOU WILL NEED:
Wafer paper
Craft knife
Ruler
Piping gel
Paint brush
Black fondant
White fondant
Silver dragees
Bow template
First thing I did was to color the wafer black and I used an airbrush to do that. I airbrushed both sides of the paper and let it dry. It took about an hour to let the wafer paper dry.
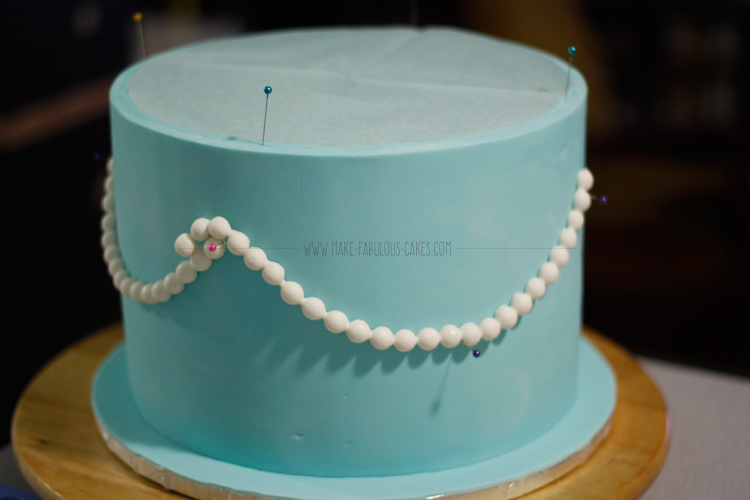
While waiting for the wafer paper to dry, I worked on dividing the cake into sections. To equally divide the sides of the cake into four parts, use a wax paper circle the same size as the cake and fold the circle in half, then fold that half again into half. Use the lines created on the circle and pins as a guide to where to place the pearls on. Use the pins to mark the highest and lowest points of the pearl garlands.
For each section there would be three rows of ruffles then a bow on top of the ruffles.
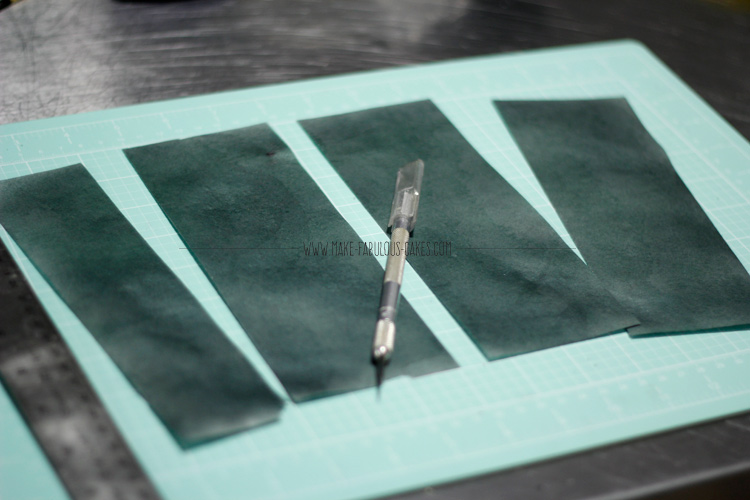
To make the ruffles, cutting on the short side of the wafer paper, cut three pieces of 3” strips. Save the extra piece of wafer paper to make the bow.
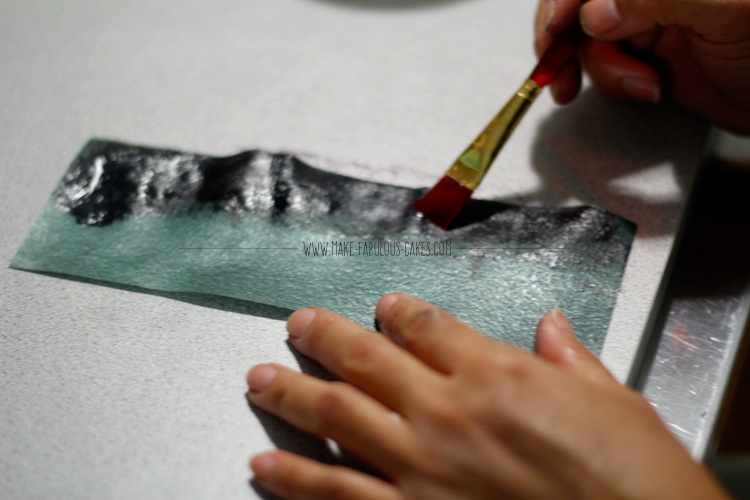
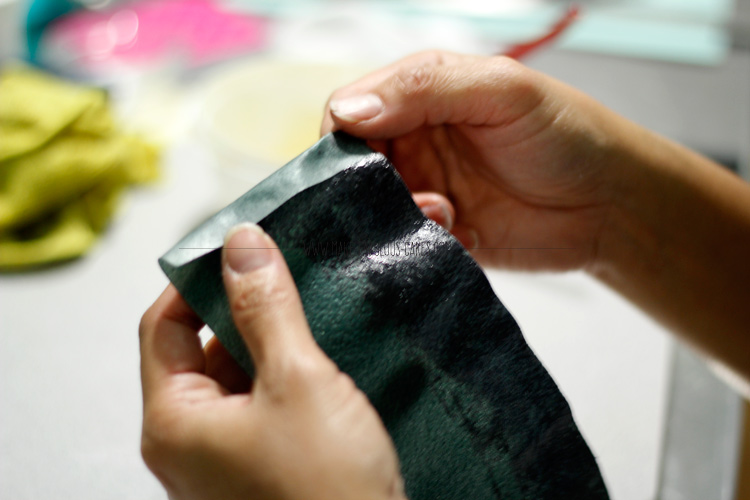
Brush
the top part of the rough side of the wafer paper with piping gel. Sometimes the wafer paper will be a bit
brittle and the piping gel will help condition it, making it more pliable.
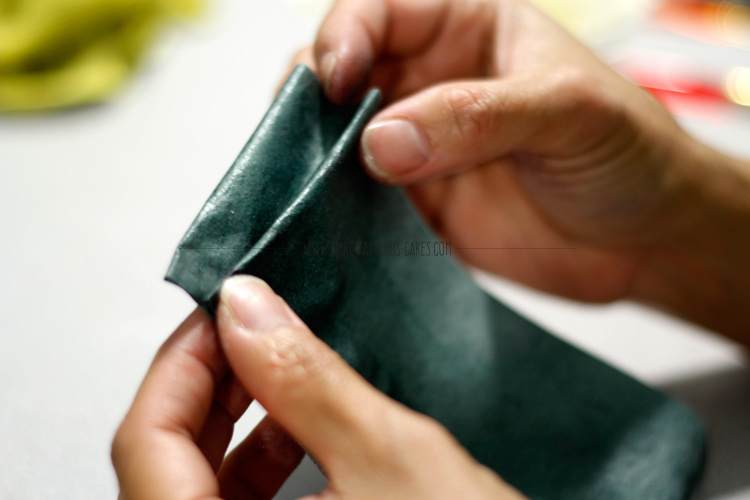
Start
with the ends and fold them in towards the rough side, pinching the part where
the piping gel is to make it hold.
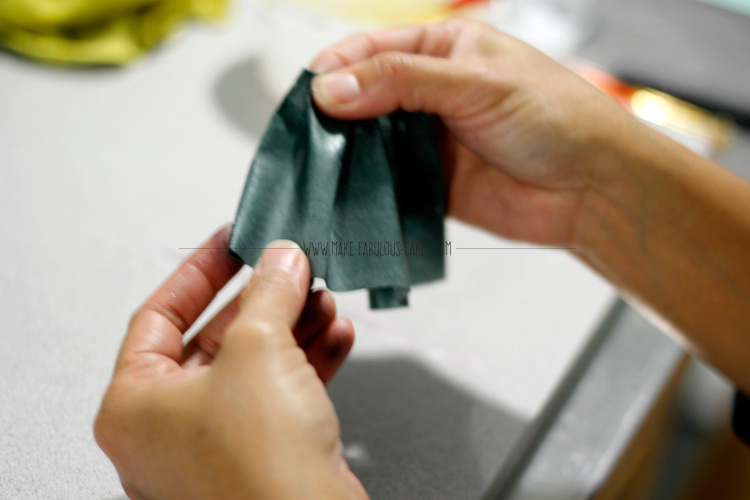
Make pleats on the piping gel side, pinching it together. Sometimes if the pleats won’t stay together, you just need to hold it together with your fingers for a bit longer.
Keep pleating until one side is done. The wafer paper will now look like a skirt fanning out on the bottom.
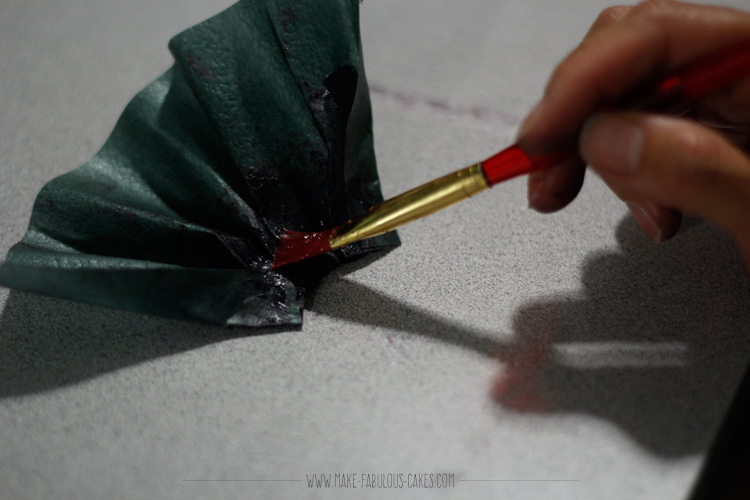
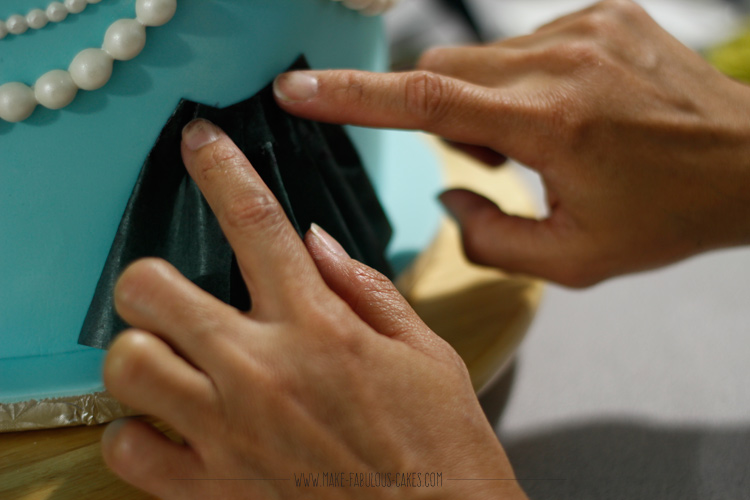
To attach the ruffle to the cake, add some more piping gel on the rough side of the paper.
Carefully attach the ruffle to cake.
Repeat and make two more ruffles, placing each ruffle slightly above the previous one.
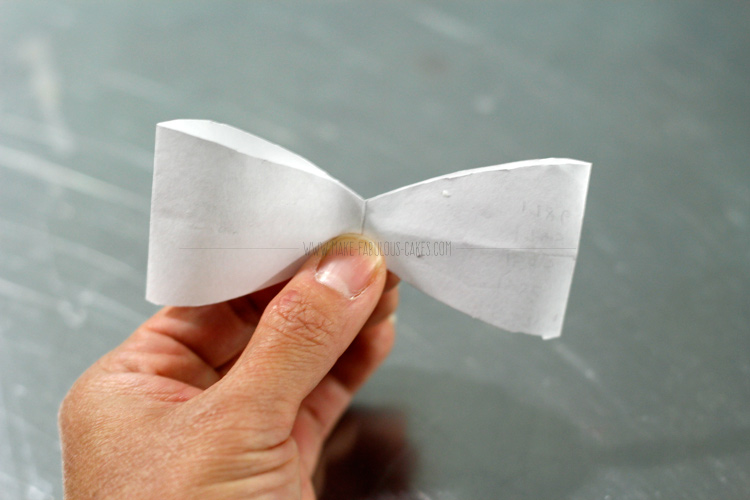
Use the leftover strip of wafer and make the bow by tracing out the bow template and cutting it with either scissors or a craft knife. Brush on some piping gel in the middle of the rough side of the wafer paper and bring in the ends towards the middle where the gel is. Press with fingers until it stays. Attach the bow on top of the ruffles using piping gel. I don’t have photos of how I made the bow because I was doing a live demo on Periscope of the process and forgot to take pictures. But here is a picture of the template I used and how it is folded to make a bow.
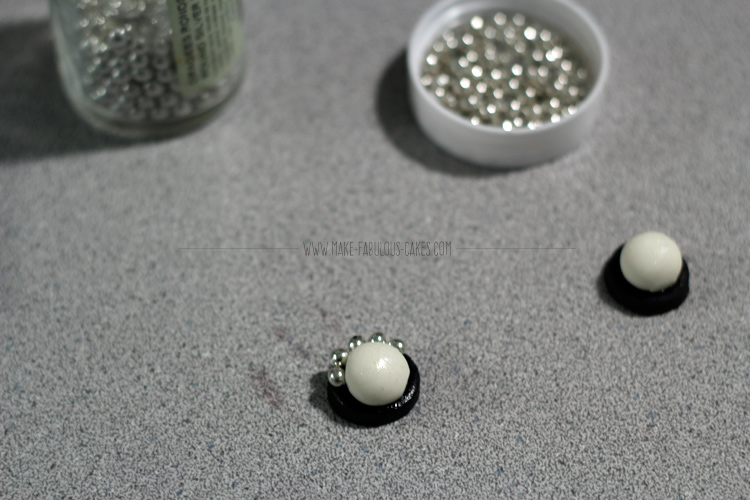
Start making the center of the bow by making the pearls. Roll out small balls of white fondant about
3/8” (9mm). Cut each pearl in half to
have a one side flat. Roll out a small
piece of black fondant and cut out disks that are slightly bigger than the
pearl.
Attach the pearl to the center of the black disk with piping gel. Add silver dragees around the pearl. Attach this to the center of the bow with piping gel.
And there you have it, cute wafer paper ruffles with a bow to add that girly touch.
Til next time,

You might also like:
How to Make Wafer Paper Ruffles and Bows Top
- Home Page
- Cake Decorating Techniques & Tips
- Wafer Paper Ruffles
The images, tutorials and content on make-fabulous-cakes.com are protected by copyright laws. DO NOT distribute or copy the content without written permission. DO NOT edit, crop, or remove watermarks from any image or video. If you intend to use any of the text, templates or images within, it must be linked back to this site with credit given to www.make-fabulous-cakes.com. For questions contact us HERE.
Disclosure: Please note some of the links in this post may be affiliate links, I will earn a commission if you decide to make a purchase. This doesn’t cost you anything additional and I truly appreciate this support, thank you!
