- Home Page
- Flower Cakes
- Buttercream Rose Cupcakes
How
to make Two-toned
Buttercream Rose Cupcakes
These buttercream rose cupcakes are such classic beauties that they never go out of style. And you know what? You can make the buttercream roses in two tones and you can do it using only one pastry bag! Read on and see how easy it is to make.

This post may contain affiliate links, which means I'll receive a commission if you purchase thru my links, at no extra cost to you. Please read the PRIVACY POLICY AND DISCLOSURE for more information.
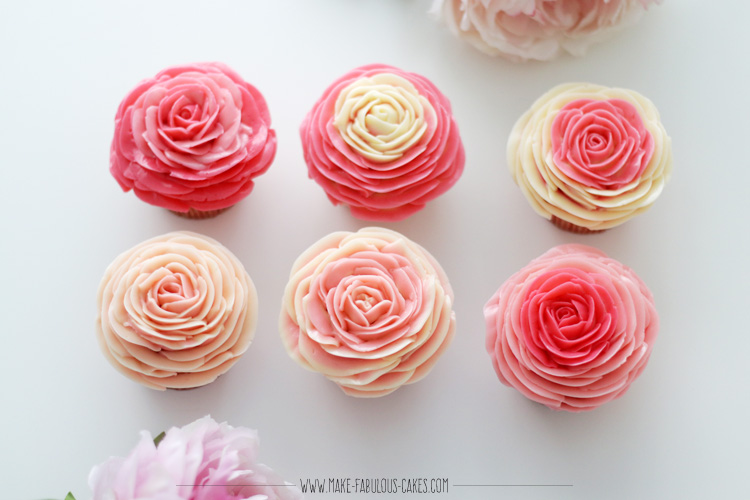
I thought it would be fun to make the buttercream roses with more than just one colour. Actually when you look at real roses very closely, you will see that most of them have more than one colour. Sometimes you see it’s darker on the inside of the rose and get lighter on the outside or vice versa. And sometimes you see that the tips of the petals have a different colour.

Making the rose in two colours of buttercream gives depth and a nicer dimension. I like it best when the colours are gradient and monochromatic, when the colours are pretty close in tone like let’s say a light pink with a darker pink. But I have made some roses here that have a stark contrast like white and dark pink just to show clearly the two-tone effect.
These buttercream rose cupcakes may look like they’re so complex to make but check out this video I made and see for yourself how simple it is really.
BUTTERCREAM ROSE CUPCAKES TUTORIAL
To make this cupcake you will need:
Cupcakes (I used this Vanilla Cupcake Recipe)
Buttercream
Pastry tip 104
Couplers
Pastry Bag
Gel colours (I used Americolor Soft Pink and Wilton Rose)
Cake Decorating Turntable
METHOD
My
go to vanilla cupcake recipe makes beautifully domed cupcakes which makes it
perfect to pipe fuller buttercream roses with.
And of course I love using my go to buttercream which you can find the
recipe here.
Colour the buttercream to desired colours. I used Americolor Soft Pink to make the lighter pink buttercream and Wilton Rose for the hot pink buttercream.
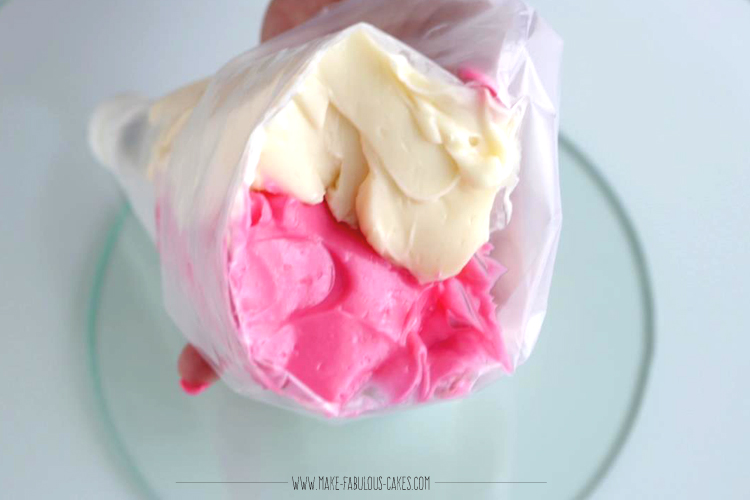
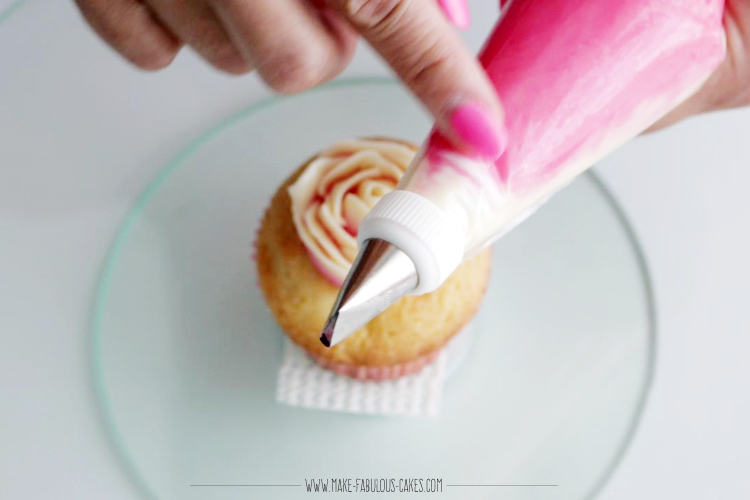
Place two colours of buttercream in a pastry bag fitted with a coupler and pastry tip 104. To do this, use a small metal spatula and put one colour on one side of the bag. Be careful to leave some space for the other buttercream. Add the other colour of buttercream and close and twist the top of the bag. I like to use a clear disposable bag so it would be easy to see the colours in the bag.
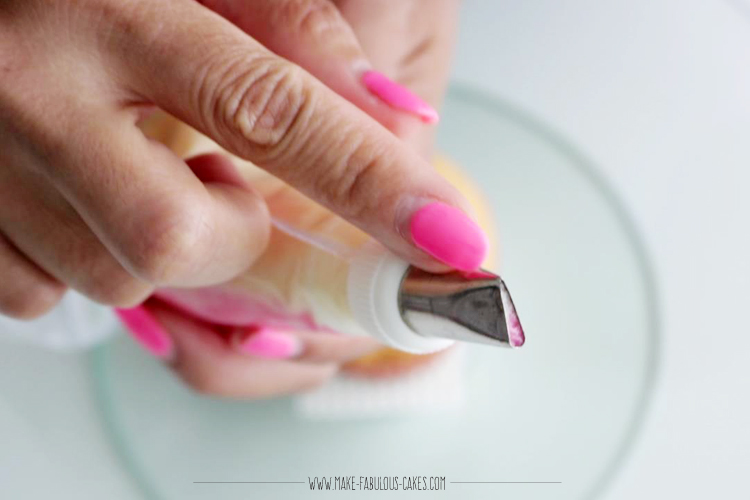
Line
up the thin part of the tip to the colour that you want the top part of the
petal to be. For this cupcake, I wanted
the inside of the rose to be white and then dark pink on the outside. So, first I had the thin part lined up with
the white buttercream. Squeeze some of
the buttercream out to check if you got the colour that you want. Sometimes you have to play with the tip
position to get the desired colour.
Now, let’s start piping the flower. Place the cupcake in the center of the turntable and use something like and anti-skid material so that the cupcake will not move around. I like to use a turntable to make these rose cupcakes because it makes it easier to pipe longer petals. Personally, I like the look of the longer petals. But you can also do it without and just by holding the cupcake. But I find that doing this strain my hands and I can’t make longer petals.
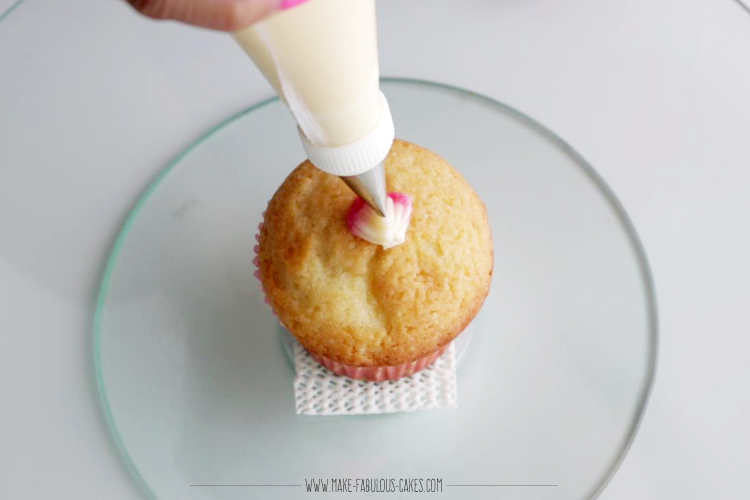
First, make a base in the center of the cupcake.
Hold the pastry bag straight up and pipe a cone shaped mound of buttercream in
the center of the nail about half an inch high.
Place the tip flat on the
cupcake and press the bag with a lot of pressure at first to make a nice fat
base and then release the pressure as the bag is lifted up at the same time.
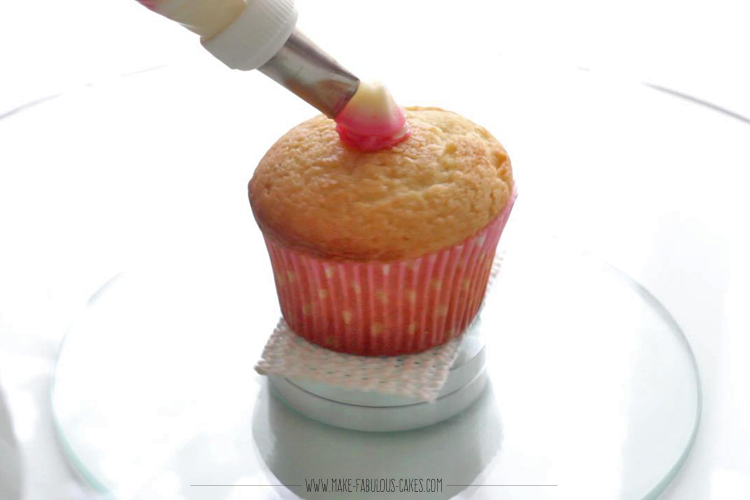
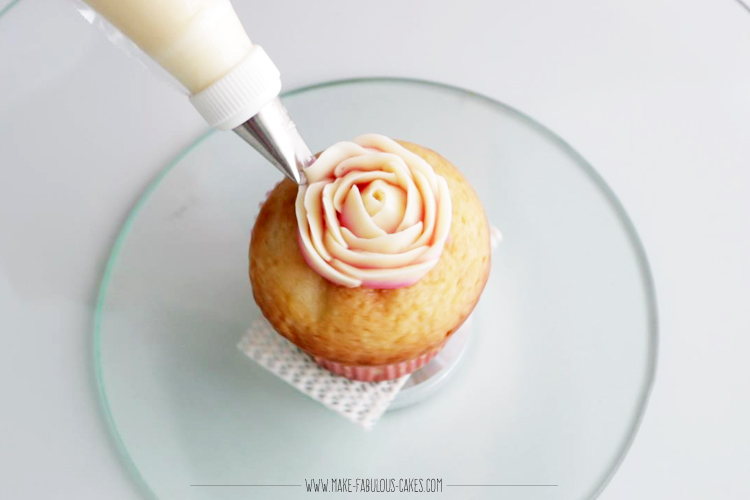
Next, cover the base by placing the tip parallel to the cone, thin side on the top, pipe the center of the rose by turning the cupcake and piping the buttercream at the same time.
Pipe a row of petals all around the center of the rose. To do this place the wider end of the pastry on the cupcake, lift the bag ever so slightly to make a small arch for each petal. Overlap each petal with the last one.

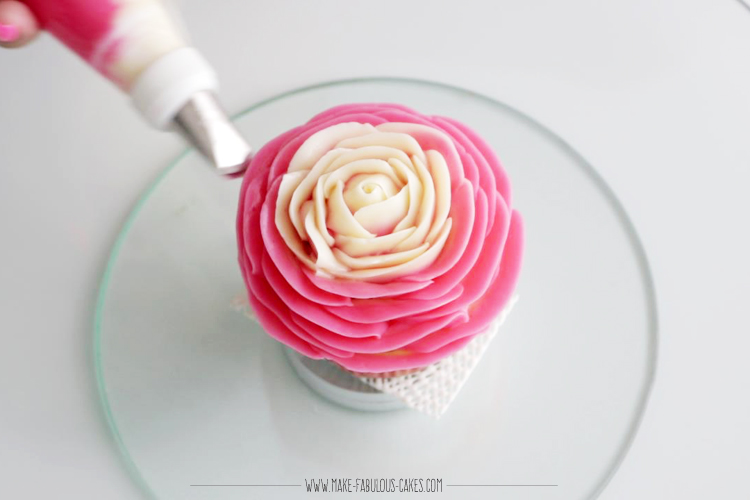
Make two to three more rows of petals. And for each row, tilt the top (thin) part of the tip a little bit more towards the outside of the rose.
Now the fun part, changing up the colours. Untwist the coupler just a bit so that you’ll be able to move the pastry tip. Twist the thin side of the tip so that it will line up with the other colour of the buttercream in the bag. Twist the coupler again to tighten the tip in place.
There will be a bit of the old colour remaining in the tip; you can either squeeze it out to the new colour or keep on using it til the new colour comes out. But personally, I like seeing the gradual change in colours with the petals.

Continue piping the petals. I like the look long stokes of petals and this is where using the turntable really helps.
Make
sure that all of the cupcake is covered with buttercream; uncovered parts of
the cupcake will tend to dry out.
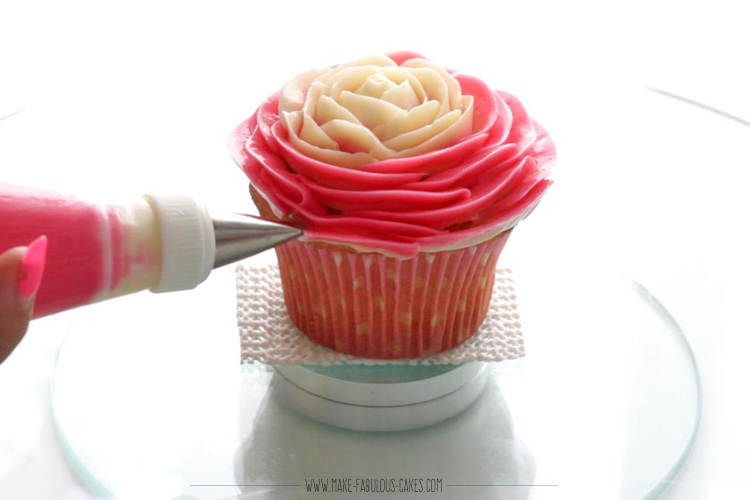
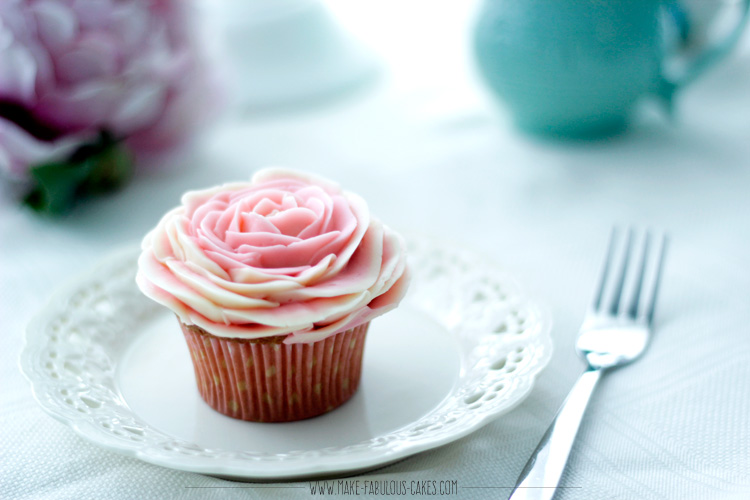
Annnddd there you go, beautiful rose cupcakes! Now, that wasn't too hard, wasn't it?
Perfect for any special occasion, or just because ;)
Hope you enjoyed this tutorial!
xoxo,

Buttercream Rose Cupcakes Top
- Home Page
- Flower Cakes
- Buttercream Rose Cupcakes
The images, tutorials and content on make-fabulous-cakes.com are protected by copyright laws. DO NOT distribute or copy the content without written permission. DO NOT edit, crop, or remove watermarks from any image or video. If you intend to use any of the text, templates or images within, it must be linked back to this site with credit given to www.make-fabulous-cakes.com. For questions contact us HERE.
Disclosure: Please note some of the links in this post may be affiliate links, I will earn a commission if you decide to make a purchase. This doesn’t cost you anything additional and I truly appreciate this support, thank you!

Hi, I'm Darlene. I'm the creator, photographer, baker, recipe tester of Make Fabulous Cakes. Welcome to my sweet world!
MORE ABOUT ME >>
most popular posts
 |
 |
 |
 |
 |
 |
Recent Articles
-
Russian Piping Tips Guide plus Video
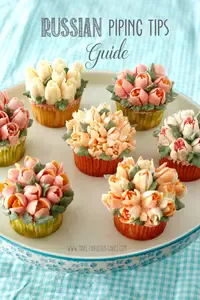 Russian Piping Tips Guide - a guide on how to use these fun tips, where to get them, which buttercream to use and how to color it plus video.
 -
Top Ten Cake Baking Tips
 Top ten cake baking tips for better cakes.
 -
Fabulous cake decorating ideas, Recipes and Cake Pictures.
Cake decorating ideas with lots of cake tutorials, cake recipes and inspiration for beginners and the more experienced cake decorator.
online Classes

Featured in:
 |
 |
 |


