|


Shopkins Cake
This post may contain affiliate links. Please read my privacy policy and disclosure.
I must have been living under a rock, because right until someone asked to make a Shopkins cake for a little girl’s seventh birthday, I have never heard about it.

I have kids but they are now grown to the point that they don't care very much about TV shows or latest character toys and what not. Now, they are much into Netflix, playing Minecraft and watching others play Minecraft on Youtube. I think some of you can relate.
When I got the order for a Shopkins birthday cake, I had to do some research because I know zilch about it. To this day I still have a vague idea about the whole concept (is it a toy, is it a show? I still have no idea) but I know for sure that they are the absolute cutest characters. And Shopville is a lively, colorful place that I would actually love to live in. I am a sucker for extreme cuteness, what can I say.
I asked the client which character is their child's favorite, so I can get inspired from there and they said Wishes. So I Googled “Shopkins Wishes”, and it turned out to be a cake with some candles on top. Perfect!
Because my initial thought was that this was a TV show, I tried finding an episode with Wishes so I can see the real deal. And I did not find one. Ok, maybe I did not try hard enough.
So this is my version of the Shopkins Wishes, based on what I have seen others did. May not be a true representation but I still tried to make it as cute as possible. So cute, that after I made this cake, I just have this urge to hug and squeeze it. Just like you do when you see a baby, or a cute little puppy. I know, I am weird that way, can’t help it.
Ok, now let’s talk about this cake!
This was a 6” and 8” round cakes. The bottom part was inspired by the walls of the shop and the top was of course the character Wishes.
Making the Number 7 Cake Topper
The first thing I made in advance was the number 7 cake topper. I did this in advance, a couple of days before, so that it will have time to dry.
I just freehand made a number 7 template on paper, and cut out two of it in fondant. I placed a thick floral wire in the middle and sandwiched it between the two number 7 with a bit of water. I let this dry for a day, then with an extruder, I extruded a long thin rope of fondant and wrapped it all along the edge. Then I added little stars inside.
 |
 |
 |
Making the Fondant Candles
Next,
I made the candles that go on top of Wishes.
To make the candles, I rolled out some turquoise fondant about 1/4”
thick. I cut it to about 3” in width
because I wanted the body of the candle to be that high. I took a lollipop stick and brush on some
water and rolled the fondant all around the stick.
 |
 |
I
then rolled it with both my hands to make it stick better and to hide the
seams. Then I laid it on a flat surface
and rolled it with a fondant smoother to make it smoother. I like the candle to taper thinner on the bottom. So when I rolled the fondant smoother, I put more pressure on the bottom
part, so that it gets thinner as you can see in the picture.
 |
 |
I then cut the excess from the bottom and on the top, I cut to expose about 1/2” of the lollipop stick.
 |
 |
I took some yellow fondant and rolled it into a teardrop shape and stuck it on top of the stick with some water. I then cut out a strip of dark pink color with a ribbon cutter, brushed some water on one side and twirled it around the candle.
 |
 |
I then stick the fondant candles on a stryfoam while I work on the cake.

Making the Cake
For the bottom part of the cake, like I mentioned I was inspired by the striped walls of the Shopkins shop. I covered the cake with light pink color. Then with a fondant ribbon cutter, I cut out thick strips about 1” and thinner strips that where were about 1/4”. First I added the thicker strips on the cake. I used one of the strips, cut it out to 1-1/2” width and used that as my spacer in between the thicker strips. Mind you it did not come out perfect in the back but that was okay with me, I had to play around with the spacing with the last strip. Then I added the thinner strips of fondant.

Then I made the bunting banner to add the name. I used tappit cutters and gum paste to cut out the name. Then I added little stars and hearts all around the cake and the cake board too.

Now for the top part, which was the Wishes character, I covered the 6” cake with yellow fondant. Then I rolled out some dark pink fondant roughly bigger than the top of the cake. I placed it on top of the cake, to check if I had enough to go on the sides, then I ran my fingers around the edge of the cake to get the circle shape. Then I took the pink fondant off the cake. Please do not do this if it is very humid and the cake is sweating. The fondant will just stick to the cake.
As
you can see in the picture below, there is the slight impression of the top of the
cake and this helped me as a guide when I cut out the “blobs” of frosting. Alternatively, you can take the same pan the
cake was baked in and use that as a guide.

I then brushed some water on the top of the cake and place the cut out fondant on top and start smoothing it on the top and sticking the sides with some water. I then smooth out the rough edges with my fingers.

Then I rolled out a long piece of white fondant about 1/2” thick and enough to go around the cake. This is Wishes’ headband. I used the back of the knife to make diagonal lines on the fondant. I placed it all around the cake, below the pink fondant “frosting” and I wanted some of the frosting to be dripping on top of the headband. The white fondant kept slipping down, so I used some pins to keep in place until it dries out. Just a reminder when using pins, count how many you used and please make sure that you take out ALL of them.

I made
some sprinkles by extruding some turquoise blue fondant then cutting it in
small pieces.

The face was really easy to make, thank goodness. Just some black fondant for the eyes, a dot of yellow for the nose and some pink and white fondant for the mouth. Then I added the fondant arms and blobs of dripping frosting.

Then
I made some “piped” frosting by rolling out a long piece of white fondant, cut
it in 5 equal strips and coiled it around itself.

Then lastly, I added the number 7 topper in the middle of the top cake and then the candles and the piped frosting in between the candles.

Part of the order was a dozen cupcakes. For the cupcakes, I used Cupcake Addiction's cupcake wrapper template and mostly followed her tutorial in Youtube. However, for one of the cupcakes, I made fondant crowns instead of paper and used this mold to make the bow.

Wow, this has been a long post! Hopefully, this will give you some idea on how to make a Shopkins cake.
Don’t you just want to hug and squeeze this cake?!

Cheers,

Home Page › Kids Birthday Cakes › Shopkins Cake
The images, tutorials and content on make-fabulous-cakes.com are protected by copyright laws. DO NOT distribute or copy the content without written permission. DO NOT edit, crop, or remove watermarks from any image or video. If you intend to use any of the text, templates or images within, it must be linked back to this site with credit given to www.make-fabulous-cakes.com. For questions contact us HERE.
Disclosure: Please note some of the links in this post may be affiliate links, I will earn a commission if you decide to make a purchase. This doesn’t cost you anything additional and I truly appreciate this support, thank you!

Hi, I'm Darlene. I'm the creator, photographer, baker, recipe tester of Make Fabulous Cakes. Welcome to my sweet world!
MORE ABOUT ME >>
most popular posts
 |
 |
 |
 |
 |
 |
Recent Articles
-
Fabulous cake decorating ideas, Recipes and Cake Pictures.
Mar 25, 24 09:44 AM
Cake decorating ideas with lots of cake tutorials, cake recipes and inspiration for beginners and the more experienced cake decorator. -
Harvest Buttercream Flowers Pumpkin Cake Online Class
Sep 14, 23 09:19 PM
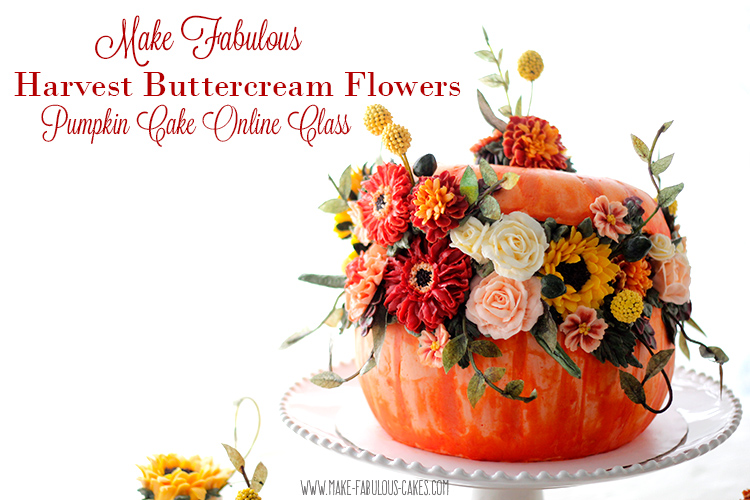 Make a beautiful Pumpkin Cake with fall themed buttercream flowers and wafer paper leaves and more!
 -
Rainbow Cupcakes
Sep 08, 23 12:13 PM
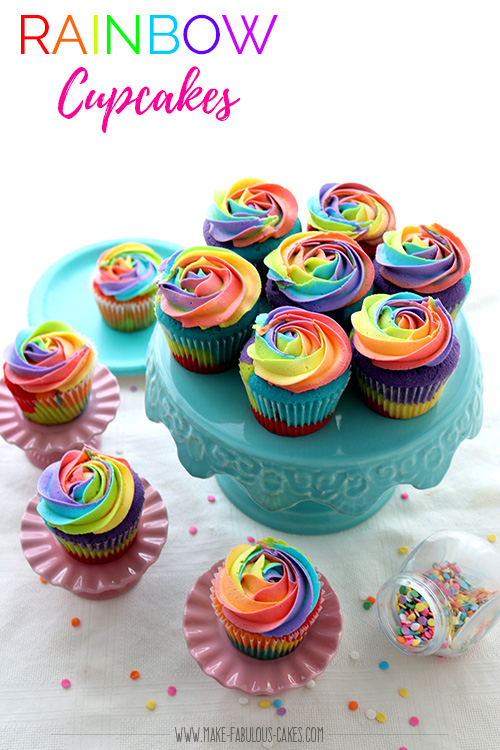 Discover the magic of rainbow cupcakes with this colorful and delicious recipe. Taste the rainbow today!"
online Classes

Featured in:
 |
 |
 |


