|


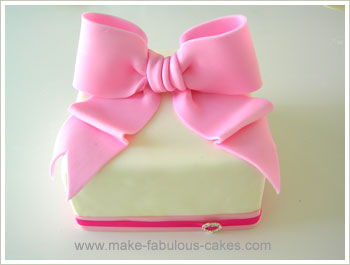
How to Make a Fondant Bow
A fun way to add pizzaz to your cake is by adding a fondant bow. A bow adds a touch of cuteness and is actually quite versatile to use. You can use it on a cake for different occasions such as birthdays for kids and adults alike, cakes for babies, wedding cakes, etc.
The bow can be made out of fondant or gumpaste. I almost always use fondant just because it is more readily available to me. I use gumpaste if I have it on hand. I find I can roll the gumpaste thinner than the fondant and it makes a more realistic looking bow that way. Colour the paste to the shade that you want.
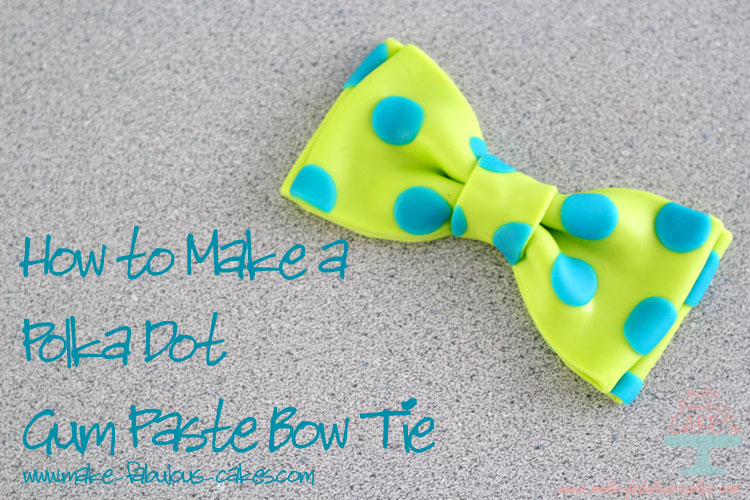
You can also create fun design and patterns on the bow. Add stars, dots, stripes, any shapes you can think of in different colors and sizes.
METHOD
The tools that you need to make a gumpaste or fondant bow are: fondant or gumpaste, ruler, pizza cutter, rolling pin, paper towel, cornstarch for dusting the work surface, scraper or metal spatula to help lift off stuck fondant, and a fine brush.

Roll out the paste using a rolling pin to about 1/8" thickness.

Using a pizza cutter and the ruler as a guide, cut 2 rectangular shapes of about 2 1/2" by 6". This measurement is only a guide, you can make smaller or larger bows than this.

Brush one side of the rectangle with water.

Make some kind of a tube with the paper towel by rolling or folding it over. You will insert this inside the rectangle to open up the bow.

Fold the rectangle from one end to the other and pinch the ends together.


Make the tails of the ribbon bows by cutting 2 more rectangles. The width should be the same as the loops but the length can vary depending on the look that you want to achieve. Cut a V-shape on one end if you want a fish tail end. You can also cut it on a 45 degree angle. Pinch the uncut ends together. Cover the tails with plastic sheet over it to avoid drying too fast.

For the "knot" middle of the bow, cut a piece roughly 2 1/2" by 2 1/2". Fold the two ends about 1/4" inside.

Turn it over and make some creases in the middle.

Place the pinch sides of the loop facing each other. Brush the underside of the small piece of fondant with water or gum glue. Place it on top of the pinched ends of the loop and tuck it underneath.

Let the finish bow dry until it holds it shape. Brush it with luster dust to add some sparkle.

Place the tails on the cake. Then set the bow on top of the tails by using buttercream or royal icing. You can either place it laying down...

... or standing up.
VARIATION
You can make the fondant bow smaller or have a different look by cutting the rectangles thinner. The same method as applies with some variations. For this bow, I cut 1" strips and I didn't stuff the inside of the loop to make it look flat.

Now here's a different kind of bow!

And now you can have more fun with it! It doesn't have to be just a plain ribbon bow, it can have polka dots, stripes, stars...be creative!
You might also like:


Fondant Bow Top
- Home Page
- Fondant Bow
The images, tutorials and content on make-fabulous-cakes.com are protected by copyright laws. DO NOT distribute or copy the content without written permission. DO NOT edit, crop, or remove watermarks from any image or video. If you intend to use any of the text, templates or images within, it must be linked back to this site with credit given to www.make-fabulous-cakes.com. For questions contact us HERE.
Disclosure: Please note some of the links in this post may be affiliate links, I will earn a commission if you decide to make a purchase. This doesn’t cost you anything additional and I truly appreciate this support, thank you!

Hi, I'm Darlene. I'm the creator, photographer, baker, recipe tester of Make Fabulous Cakes. Welcome to my sweet world!
MORE ABOUT ME >>
most popular posts
 |
 |
 |
 |
 |
 |
Recent Articles
-
Fabulous cake decorating ideas, Recipes and Cake Pictures.
Cake decorating ideas with lots of cake tutorials, cake recipes and inspiration for beginners and the more experienced cake decorator. -
Mushroom Birthday Cake
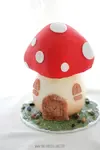 In this Mushroom Birthday Cake tutorial, learn how to create a whimsical, mushroom-shaped cake that's perfect for enchanting any celebration.
 -
Swan Cake Tutorial
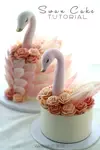 In this swan cake tutorial, you'll learn how to make a fondant swan head with buttercream roses and chocolate for feathers
online Classes

Featured in:
 |
 |
 |


