|


Red Vintage Wedding Cake
This post may contain affiliate links. Please read my privacy policy and disclosure.
They wished for red and a heart when my friend and his fiancée came to see me to discuss about their wedding cake. And that’s how this red vintage wedding cake came about.

They were pretty open for anything else as long as those two on their wish list were there. I’ve always wanted to do some old school piping work and so that’s where the vintage part comes in.
Since they were using red roses as their flowers, I used that as the inspiration to use petal ruffles on the bottom tier and the heart.
On our last meeting to finalize the details of the cake, they requested their names to be added somewhere on the cake as well. I was happy to oblige, I added this vintage looking banner with their names written on it. I actually love how this one came out.

This cake gave me some grief when I was making it. It was summer time and a very humid week, I might add, when I made this cake. The middle tier was higher than the other two; I made it may be about 7” high. When I took this tier out of the fridge to start on the piping work, naturally it started sweating. I was afraid that if I start doing the stringwork, the royal icing might melt when it touches the humid cake. It happened to me before and I don’t want to have another disaster on my hand.
I figured I let the cake stand for awhile in front of the fan and wait for the humidity to evaporate. When I thought I was ready to start working on the cake, I saw this massive air bubble the size of my fist on one side of the cake. Aaghhh! I tried smoothing it back in with a fondant smoother but it just kept popping up and would not flatten out.
Just when I thought I was ahead in schedule, I had to start again. I scraped of the fondant, refrosted the cake with buttercream and cover it again with fondant. By this time, it was late in the night and it was a bit cooler and it wasn’t as humid as it was earlier in the day. Thank goodness!
When I posted this picture on Instagram, someone suggested strategically placing little straws in the cake to act as a channel for the air to escape. Well, that made sense. What I did to this effect was to add the dowels in the cake right away; there was another tier going on top anyway.

How to get even even swags for string work
For the string work on the side of the cake, to make even swags, I cut a circle template the same size of the cake (I used the cake pan as guide to draw the circle on to the wax paper). I folded the circle in half, then in half again, then in half again. I unfolded it and placed this on top of the cake and used the folded marks as a guide.

I inserted pins just right below the marks and those served as my guides when piping the swags. Tip: It's best to use extra stiff royal icing. At first I had a hard time piping long strings without breaking. I added more powdered sugar to the mix and that helped a lot. Some people also add Tylose or gum trag powder, I haven't tried it yet but for those who have, please let us know the experience by commenting below :)

How to make a banner for a vintage wedding cake
For the banner, I used a fondant ribbon cutter to cut out a strip of gumpaste. I then cut both ends like a fish tail, played with the shape until I was happy with it. It was bulging in some areas where some of the paste overlapped so I flattened it a bit with a small fondant roller. I then let this dry for a couple of days.
After it’s dry, I trace the outlines of the banner and wrote the names with a black edible marker. Tip: I looked for a font that I liked and wrote the names with that font, printed it on paper and copied it as best as I could freehand. It helps to practice first on paper before doing it on the gum paste banner.
Before attaching the banner to the cake, I took two strips of fondant and moistened it with water to attach to the banner, then attached it to the cake.

I used pins to support the banner into place.


That's it for now. In part 2 of this post on Red Vintage Wedding Cake, I will show you a step by step tutorial on how I made the petal ruffles on the bottom tier and the heart.
xoxo,

Home Page › Red Vintage Wedding Cake
The images, tutorials and content on make-fabulous-cakes.com are protected by copyright laws. DO NOT distribute or copy the content without written permission. DO NOT edit, crop, or remove watermarks from any image or video. If you intend to use any of the text, templates or images within, it must be linked back to this site with credit given to www.make-fabulous-cakes.com. For questions contact us HERE.
Disclosure: Please note some of the links in this post may be affiliate links, I will earn a commission if you decide to make a purchase. This doesn’t cost you anything additional and I truly appreciate this support, thank you!

Hi, I'm Darlene. I'm the creator, photographer, baker, recipe tester of Make Fabulous Cakes. Welcome to my sweet world!
MORE ABOUT ME >>
most popular posts
 |
 |
 |
 |
 |
 |
Recent Articles
-
Fabulous cake decorating ideas, Recipes and Cake Pictures.
Mar 25, 24 09:44 AM
Cake decorating ideas with lots of cake tutorials, cake recipes and inspiration for beginners and the more experienced cake decorator. -
Harvest Buttercream Flowers Pumpkin Cake Online Class
Sep 14, 23 09:19 PM
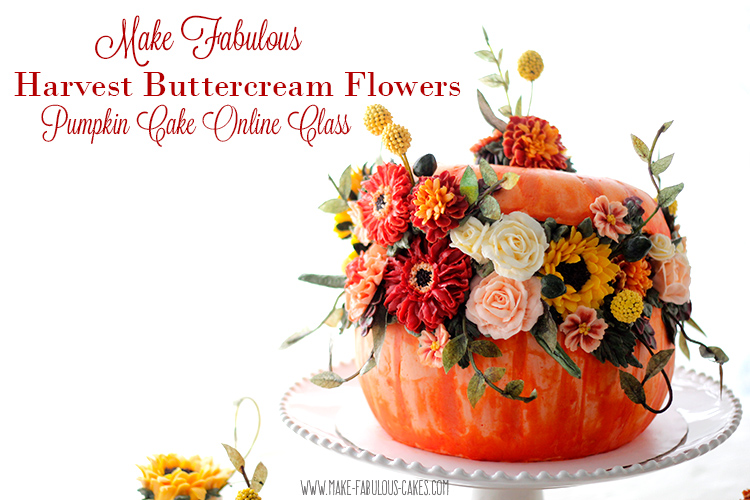 Make a beautiful Pumpkin Cake with fall themed buttercream flowers and wafer paper leaves and more!
 -
Rainbow Cupcakes
Sep 08, 23 12:13 PM
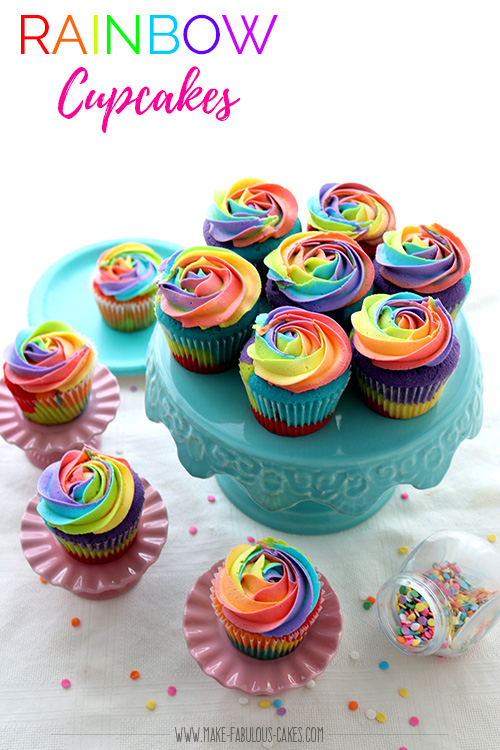 Discover the magic of rainbow cupcakes with this colorful and delicious recipe. Taste the rainbow today!"
online Classes

Featured in:
 |
 |
 |


