|


How to Make Tiered Cakes
This post may contain affiliate links. Please read my privacy policy and disclosure.
Are you ready to take your cake literally to the next level? Well, I'm talking about making tiered cakes. You know, those ones that are stacked on top of another, making the cake higher and with different levels.

Tiered cakes adds that wow factor to the cake, making it a bit more fun and special for the event. I know there are plenty of one layer cakes that are amazing, however, a multi-tiered cake seems to get more attention because of its 'heightened presence'.
And of course, another reason for wanting a bigger cake is to have more servings. Making a one tier cake to feed 300 will take up a lot of table space as oppose to making a five tier cake.
The most important thing to remember when constructing a stacked cake is support. Adequate support is needed to make sure that the cake layer that was stacked will not sink into the layer underneath it.
This tutorial will show how to stack a cake using dowels as support. There are different kinds of dowels that can be used to support a cake. Shown below in the photo are the kinds of dowels that I use most of the time. I use wood, hollow plastic, plastic straws and even skewers. Other cake decorators have also used bubble tea straws, thicker wooden dowels and other kinds of support systems. All of these dowels has to be food-safe.

The dowels that I frequently use, especially for large cakes or cakes with at least 3 tiers, are wooden and plastic dowels. These two are very strong materials and will hold up very well. To cut the wooden dowels, use a pair of sharp shears or a small saw. To cut the hollow, plastic dowels, use a serrated knife or a heavy duty utility knife. Plastic dowels are a bigger than wooden dowels, therefore it would (very slightly) affect the serving portions. With that said, I do prefer using plastic dowels nowadays because I find it easier to cut than the wooden ones. Use a cutting board underneath to safely cut the dowels.
For smaller cakes (with 2 tiers at most), I have also used plastic drinking straws and wooden skewers. I like using these because they are easy to cut. What I do is I cut the straws and skewers the same height as the cake. I place the straws in the cake and for additional support, I insert the skewers inside the straws.
So let's start stacking a cake...
Stacked Tiered Cakes Construction
For this tutorial, we are going to build a three tier cake using hollow, plastic dowels. The cake sizes starting from the bottom are 12", 9" and 6". Of course, you can use different cakes sizes according to the cake requirements.
A multi-tiered cake is going to be heavy, so it needs a sturdy base to be set upon. I usually use a cake drum that is 1/2" thick for the base. Another option would be to use a masonite board cut into shape and covered with cake foil. Whatever you choose to use, be sure that it is food-safe and strong enough to support the weight of the cake.
Set the biggest cake on the cake drum and fill and frost as usual. Place in the fridge until it is chilled. It is easier to work with a chilled cake with the frosting that is hard than soft.
I usually just estimate where the cake on top will go. But to be more precise, take another cardboard cake round or pan the same size as the next tier to be added on top. Place it in the middle of the cake or wherever the cake is going to be placed. Lightly trace the outline with a toothpick or a knife.
Take a plastic dowel and insert into the cake, inside the markings. Mark the height of the cake with your thumb, take the dowel out, mark with a pen and cut. Use that dowel as a guide when cutting the other dowels. I used four plastic dowels. If using wooden dowels, I would insert about 6 of them.

Each succeeding cakes that will go on top will have to sit on a cake board as well. You need these cake boards in between cakes as this make the structure of the cakes stronger. This is also what the dowels will support.
I usually use a thinner board for this, usually about 1/8" thickness.
So place the 2nd tier (9" cake) on a cardboard cake circle that is the same size. Fill, frost and chill. Do the same for the smallest cake (6") that will go on top.
Repeat the dowelling process for the 9" cake. You don't need to add a dowel on the most top cake as there is no need to support anything on top (except if you have a heavy cake topper or figurines, you may have to put a dowel to support it).

To place the 2nd tier on top of the first, carefully take the cake with the hand and use a metal spatula to help guide the cake in the middle. Do the same with the smallest cake.

Decorate the cake as desired.
Finally to secure all the cakes together and make sure they won't slide off, take a big wooden dowel, tad bit shorter than the cake. Sharpen one end of the dowel and with a help of a hammer, carefully drive it in all the layers until it reaches the cake drum. Cover the hole made on top with buttercream.

And there you have it - a tiered cake.
I hope this tutorial helped you with making tiered cakes.
xoxo,

The images, tutorials and content on make-fabulous-cakes.com are protected by copyright laws. DO NOT distribute or copy the content without written permission. DO NOT edit, crop, or remove watermarks from any image or video. If you intend to use any of the text, templates or images within, it must be linked back to this site with credit given to www.make-fabulous-cakes.com. For questions contact us HERE.
Disclosure: Please note some of the links in this post may be affiliate links, I will earn a commission if you decide to make a purchase. This doesn’t cost you anything additional and I truly appreciate this support, thank you!

Hi, I'm Darlene. I'm the creator, photographer, baker, recipe tester of Make Fabulous Cakes. Welcome to my sweet world!
MORE ABOUT ME >>
most popular posts
 |
 |
 |
 |
 |
 |
Recent Articles
-
Fabulous cake decorating ideas, Recipes and Cake Pictures.
Mar 25, 24 09:44 AM
Cake decorating ideas with lots of cake tutorials, cake recipes and inspiration for beginners and the more experienced cake decorator. -
Harvest Buttercream Flowers Pumpkin Cake Online Class
Sep 14, 23 09:19 PM
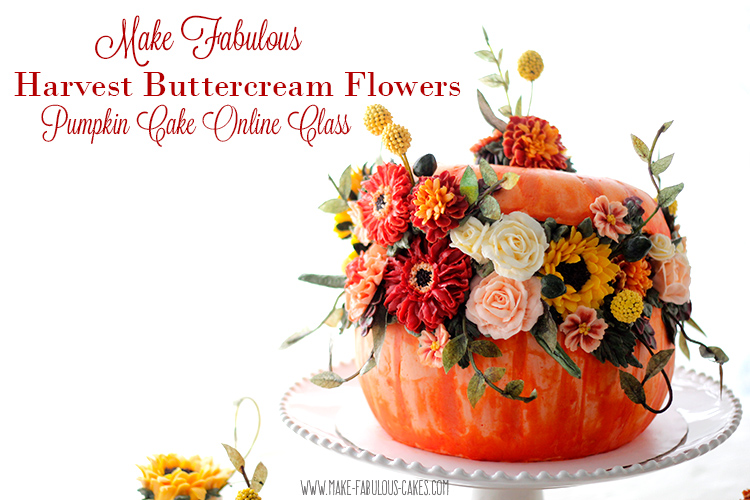 Make a beautiful Pumpkin Cake with fall themed buttercream flowers and wafer paper leaves and more!
 -
Rainbow Cupcakes
Sep 08, 23 12:13 PM
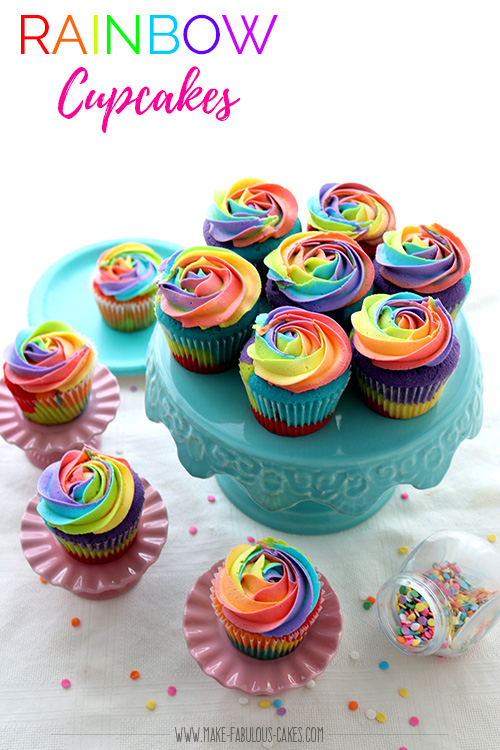 Discover the magic of rainbow cupcakes with this colorful and delicious recipe. Taste the rainbow today!"
online Classes

Featured in:
 |
 |
 |


