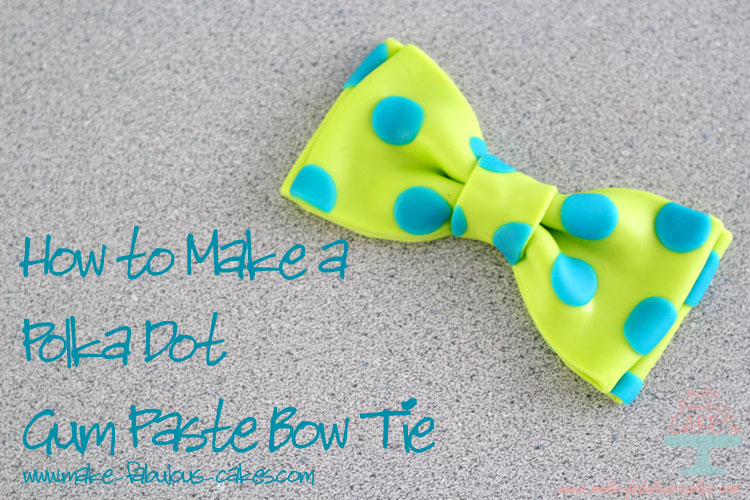
How to Make a
Polka Dot Gum Paste Bow Tie
This post may contain affiliate links. Please read my privacy policy and disclosure.
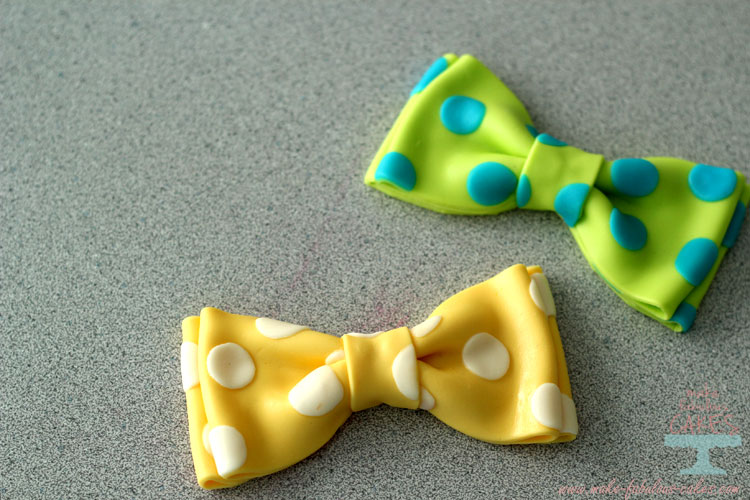
Father’s day is just around the corner and I am busy making cake. I decided to go with bow ties this year – I always find men wearing bow ties (especially the funky colored ones) charming. Now I just need to convince dear hubby to wear one. I've never seen him wear one and maybe seeing me make this polka dot gum paste bow tie will give him a hint.
This gum paste bow tie really is similar to making regular bows, however this one, we’ll make it a double bow and it will come in fun dots. I made this one in 50/50 fondant and gum paste mix but it can be made in either straight up gum paste or fondant. I started making it in just fondant, however my fondant was too soft and my bow was a bit limpy. I added gum paste and the bow was able to hold its shape better.
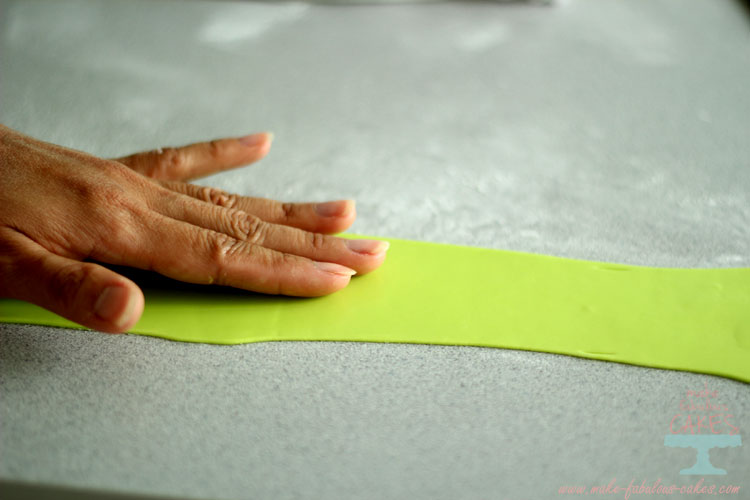
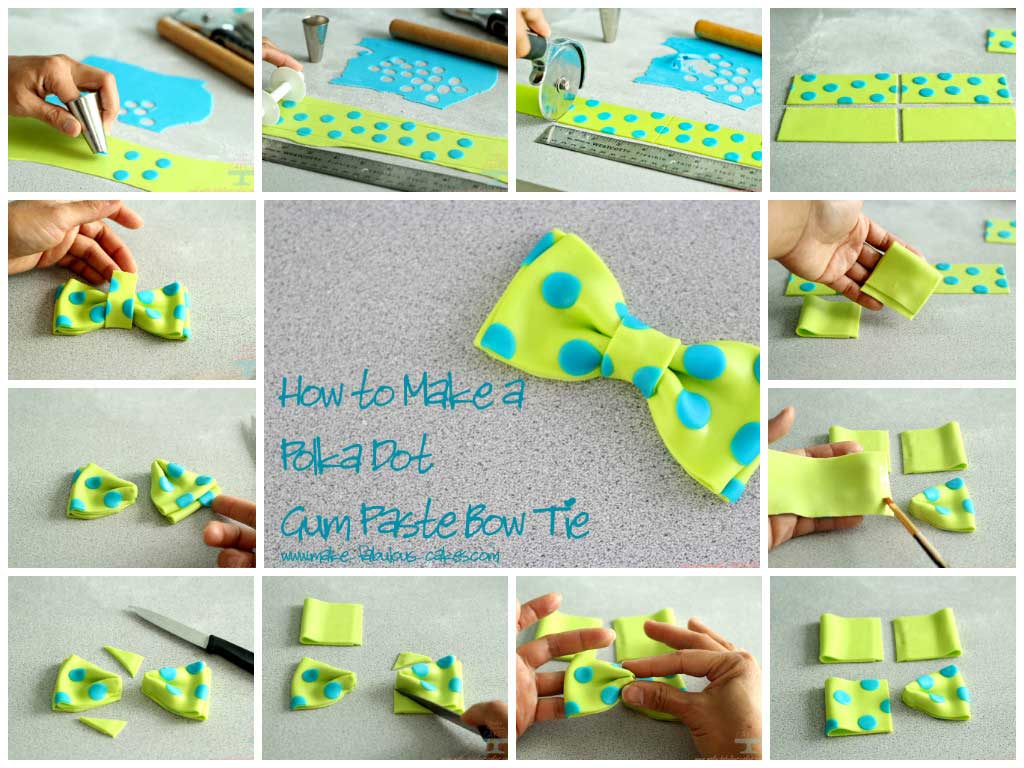
Start by rolling out a long strip of fondant to about 2mm thin. Spread some shortening on the fondant with fingers or a thick brush.
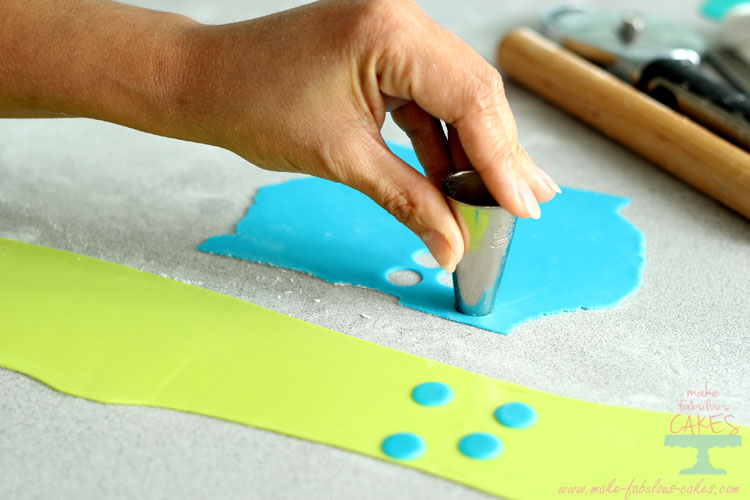
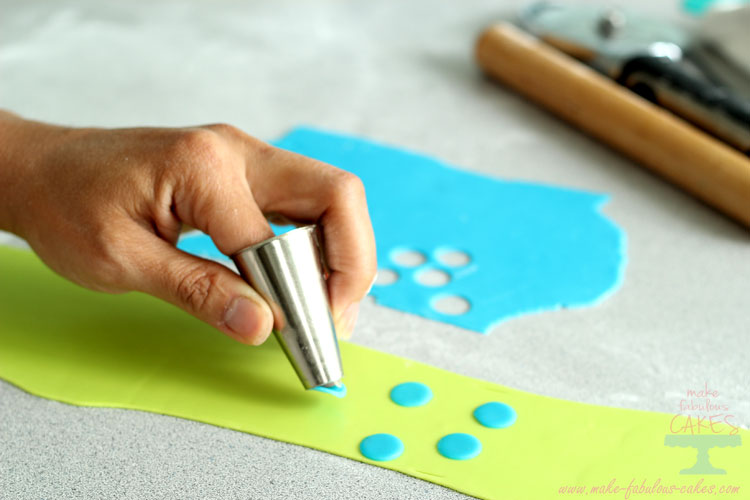
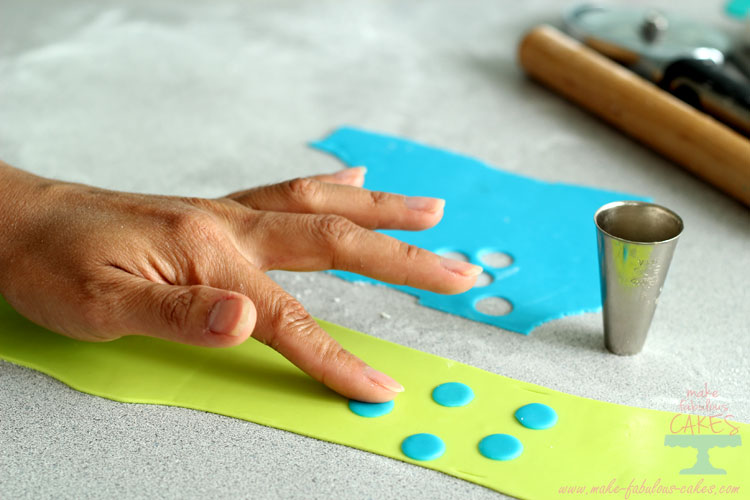
Roll out another color of fondant/gum paste as thin as possible. Take a circle cutter, in this case I used a 1/2” (12 mm) round pastry tip, and cut some circles and place it on the other strip of fondant. Make some extra circles and keep them aside covered in plastic.
Press the circles lightly with a finger and soften the edges. It should be able to stick with the shortening but if not, you can also stick it with water.
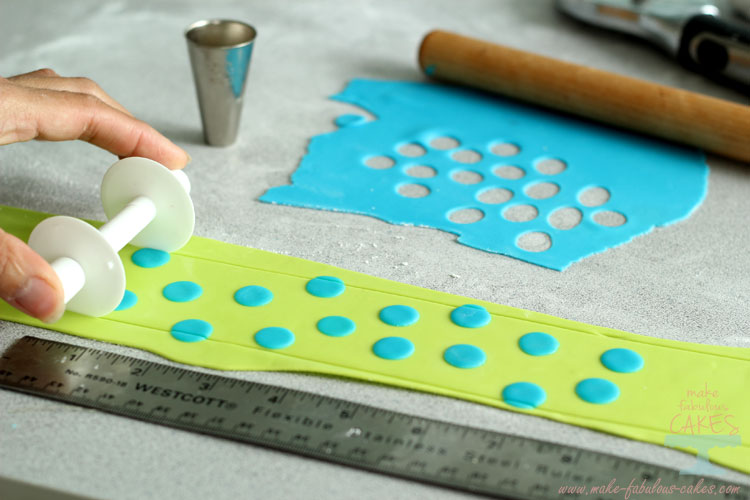
Cut the now dotted paste to 2” width. I used a ribbon cutter roller and it makes nice, uniform cuts. I like how some of the circles are cut in the edges, it just looks more natural this way.
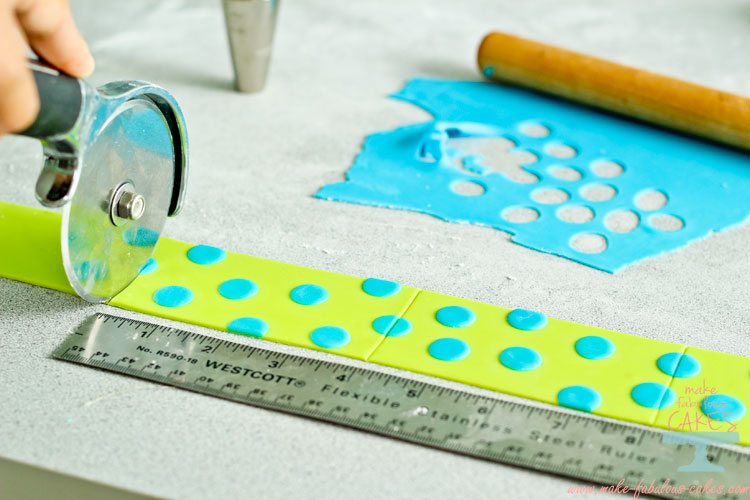
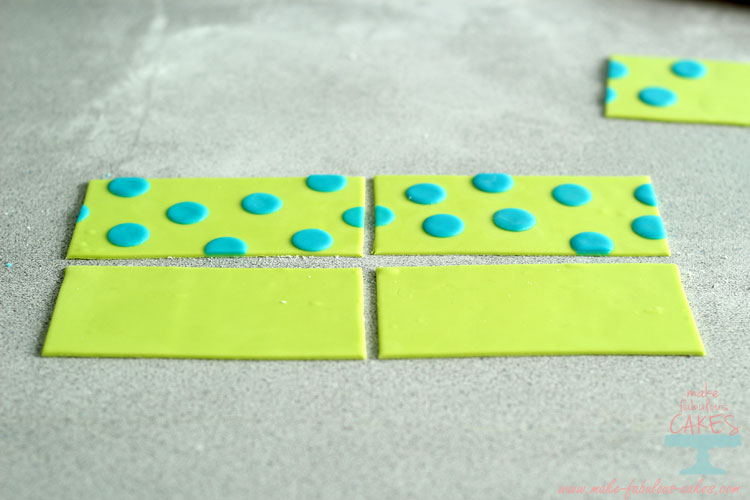
Take a pizza wheel or knife and cut two 4” strips of the dotted paste. So the dimensions of the strips are 2” x 4”.
Cut 2 strips of the plain fondant with the same dimensions of 2” x 4”.
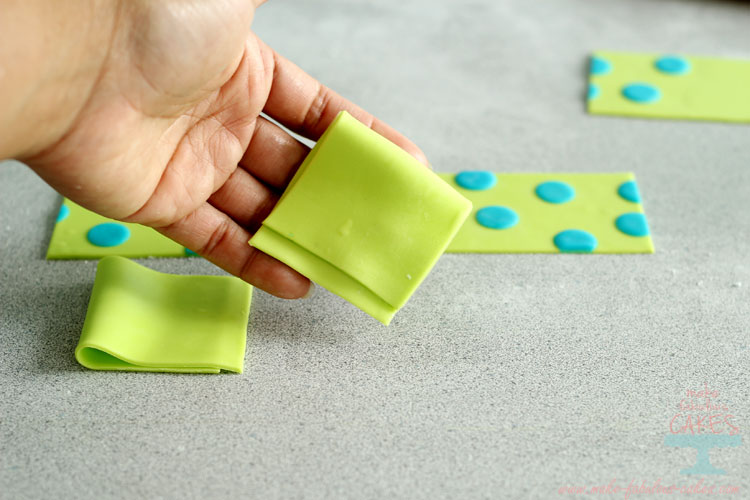
Take the plain strips of fondant and fold it over with 1/4” (6mm) overhang. Brush with water to stick and keep the longer side on top.
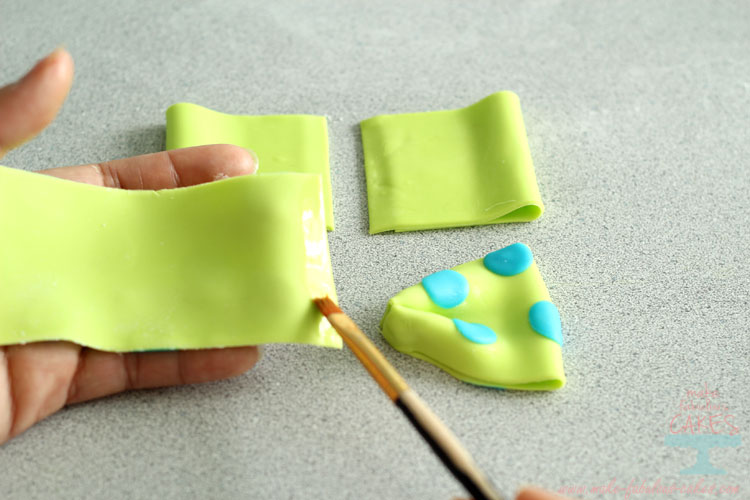
Take the dotted paste and brush one side with water. Fold over in half.
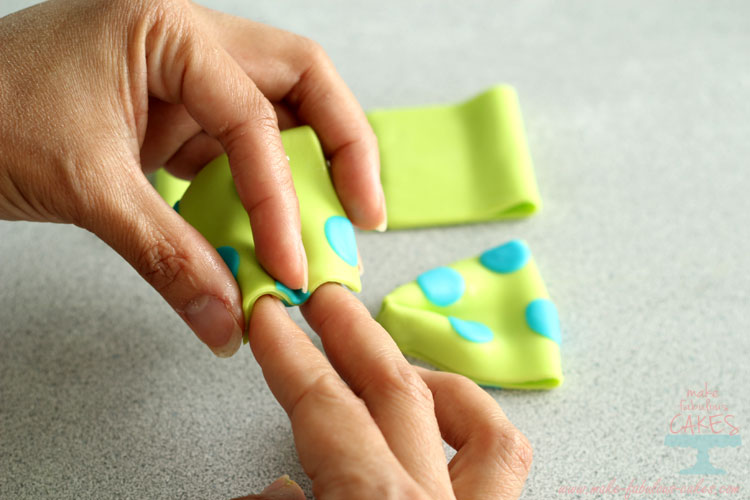
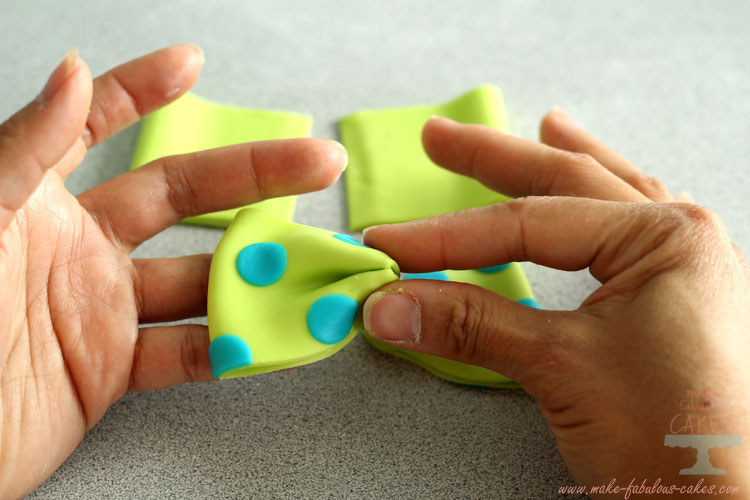
To help create the crease in the middle, use two fingers as a mold or guide while pinching the paste together.
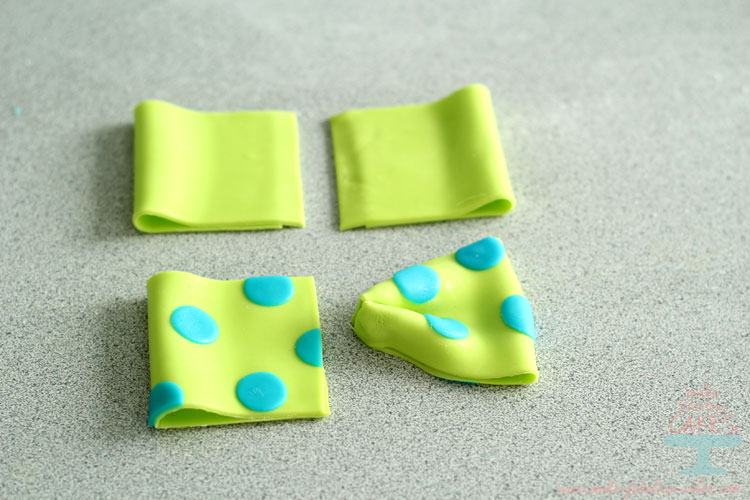
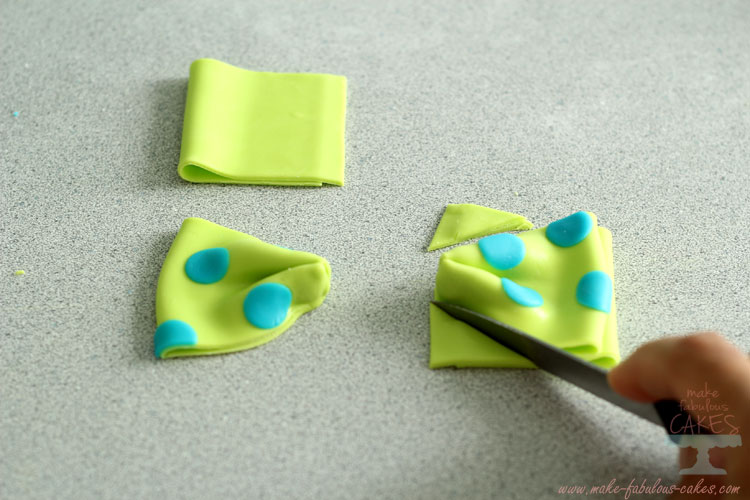
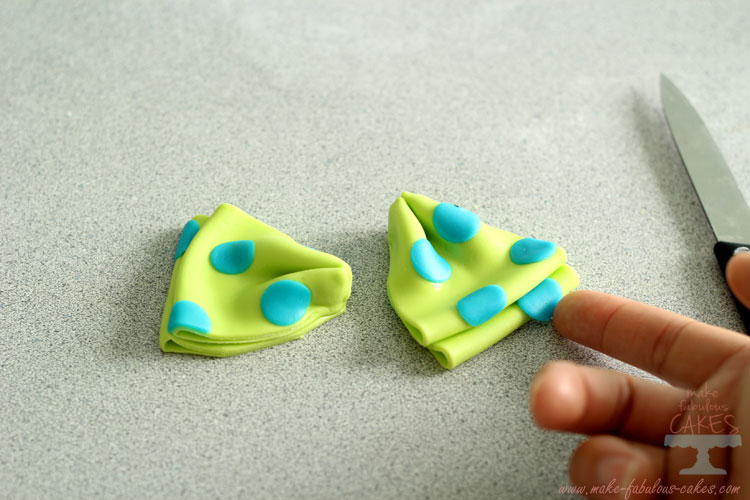
Place the dotted bows on the plain ones and cut the plain bows to the shape of the dotted ones. The plain bows should also be slightly longer than the dotted bows. Stick them together with some water.
Now, take some of the fondant circles and stick them on the plain bow. You just need to add the circles on the edges where it shows.
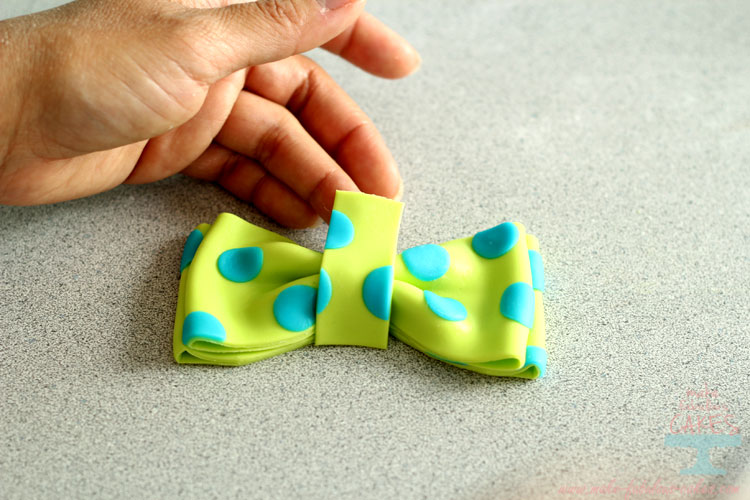
For the middle part of the bow, take another strip of dotted fondant and cut a strip 3/4” width. Brush some water underneath and place it over the middle and tuck in the edges.
There you have it – fun polka dotted bow ties. You can recreate it in different colors and different sizes of dots. The possibilities are endless. Have fun!
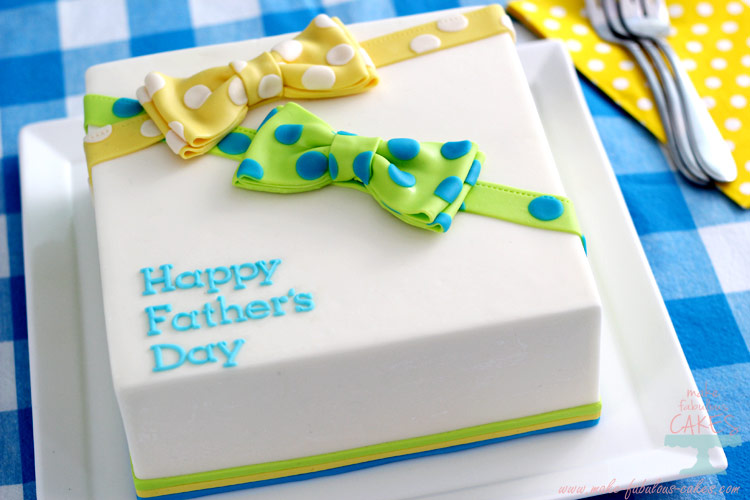
I will post the cake with this bow tie on in the next post so stay tuned!
Update: You can now check out the Father's Day Bow tie cake here.
XOXO,

You might also like:
Home Page › Cake Decorating Techniques & Tips › Polka Dot Gum Paste Bow Tie
The images, tutorials and content on make-fabulous-cakes.com are protected by copyright laws. DO NOT distribute or copy the content without written permission. DO NOT edit, crop, or remove watermarks from any image or video. If you intend to use any of the text, templates or images within, it must be linked back to this site with credit given to www.make-fabulous-cakes.com. For questions contact us HERE.
Disclosure: Please note some of the links in this post may be affiliate links, I will earn a commission if you decide to make a purchase. This doesn’t cost you anything additional and I truly appreciate this support, thank you!
