|


Piña Colada
Cake
with Buttercream Pineapples
(Video)
This post may contain affiliate links. Please read my privacy policy and disclosure.
Inspired
by a tropical drink, in this post I will be sharing a super yummy cake recipe,
the Piña Colada Cake. Luscious layers of
pineapple cake with coconut cream cheese filling and topped with fun
buttercream pineapples and of course, cocktail umbrellas! This is the perfect party cake.

September is a busy time for our family, birthday wise. There’s my dad, me, my sister and my son, who decided to be born the same date as my sis. That’s just my immediate family. I have cousins and plenty of friends who celebrate their birthdays in September. So, September for me is a month long celebration of birthdays.
My mom decided to consolidate our birthdays into one celebration. Pretty smart of her, don’t ya think? And it’s good for me too, so I only have to make one birthday cake.

The challenge with making one cake though is coming up with a cake flavor that we would all like. At first I thought of making something with chocolate but quickly realized that my sister is not really crazy about chocolate cakes.
Then it popped in my head that we all like the drink, piña colada. A Piña Colada is a mixture of pineapple juice, coconut and rhum. It’s basically the taste of the tropics in a glass. My son tasted the non-alcoholic version of it in our last trip to Mexico and he loved it. He took advantage of our all-inclusive resort and took the liberty of ordering the drink when he can, even unbeknownst to me.

I love this recipe; the cake part is moist and full of pineapple flavor. The filling is a smooth cream cheese buttercream flavored with coconut extract. Make sure to save the juice from the canned pineapple used in the cake recipe; we will use this to moisten the cake layers. For this cake I made a virgin version, meaning no alcohol, so that the kids can eat it. For a grown-up version, you can add some rhum in the pineapple syrup for that extra zing.
I want this cake to be simple (meaning easy) but fun. I made a quick video on how I assembled the cake, showed how to make the watercolor effect on the sides of the cake and how to make the buttercream pineapples.
Buttercream Watercolor Effect
After the cake is covered and frosted with buttercream, I placed it in the refrigerator to chill until it is firm. When the cake is chilled, I then piped strips of colored buttercream all around the cake. I used the same 2 colors that I used to make the pineapple with, which were yellow and green, just to keep things simple.
Then I used a bench scraper to smoothen out the
sides of the cake. I did this until the
sides were pretty smooth but I kinda liked some of the texture so I left some
of it. I would pipe more colors on areas
that I think needs it, and then pass the bench scraper again. I did this until I was pretty satisfied. But really, you can’t go wrong with this
technique and each cake is unique.

Buttercream Pineapples
The pineapples were so much fun to make and really easy too. Make sure the buttercream is stiff enough to hold its shape. I used IMBC, the same frosting used to ice the cake.
First, I colored the buttercream using Americolor Electric Yellow for the bottom part of the pineapple and Americolor Electric Green for the leaves.
For bottom or main part of the pineapple, I used pastry tip number 79 and for the leaves, I used tip number 81. Both these tips are U shaped tips, used mostly to make the mum flower. They can be used interchangeably or just use one tip for both colors.
Using a flower nail, with wax paper square attached with some buttercream, using a lot of pressure I piped a large fat cone about 1-1/2” high. Make sure that the cone has a substantial base; otherwise if you pipe a skinny base, you risk the pineapple falling over.
Check out the video on how the pineapple was made.
After piping the pineapple, carefully slide it on to a cake board and place the pineapples in the freezer for about 10-15 minutes until it is firm.
Once firm, place it on the cake, peel off the
wax paper then pipe a small blob of buttercream on the cake to make it
stick. You have to work fairly quickly
so that pineapple would not get soft.
Items used to make this cake (affiliate links)

Piña Colada Cake Recipe
INGREDIENTS
Pineapple Cake
2- 1/2 cups
cake flour
1- 1/2 teaspoons baking powder
1/2 teaspoon baking soda
1/2 teaspoon salt
3 eggs
1- 3/4 cup sugar
3/4 cup vegetable oil
1 teaspoon vanilla extract
3/4 cup buttermilk (sour cream can also be used)
1 can (398 ml or 14 fl oz) crushed pineapple (drained but keep the juice)
Coconut Frosting
1 recipe of
Italian Meringue buttercream
2 teaspoons coconut extract
Coconut Cream Cheese Filling
8 oz of cream cheese
1-1/2 cups of the Italian Meringue buttercream
1 teaspoon coconut extract
Pineapple Syrup
Saved
pineapple juice from the drained crushed pineapples (about 1/2 cup)
¼ cup of sugar
white rhum (optional)
METHOD
Pineapple Cake
- Preheat the oven to 350°F; and line 2 x 8" round cake pans with parchment or wax circles.
- Sift together the cake flour, baking powder, baking soda and salt in a bowl.
- In another bowl with an electric mixer, whisk the eggs and sugar until light and lemony in color. Slowly drizzle in the oil and vanilla with the mixer on until well incorporated.
- Stir the flour mixture alternately with buttermilk, beginning and ending with the flour mixture. Scrape down the sides and beat for another minute.
- Fold in the crush pineapple into the batter.
- Pour batter in prepared cake pans and bake for approx. 45 minutes. The cake is ready when an inserted wooden skewer or cake tester comes out clean or when cake springs back when lightly pressed with a finger.
- Let the cake cool in pans for about 10 minutes. Loosen the sides with a knife or metal spatula and invert to a metal rack. Invert again to another rack to prevent the cake from splitting. Let the cake cool completely.
Coconut Frosting
- Make the Italian Meringue buttercream as per directions.
- Add in the coconut extract until well mixed.
Coconut Cream Cheese Filling
- Whisk the cream cheese until smooth.
- Take 1-1/2 cup of the Italian Meringue buttercream and add it in half a cup at a time, whisking in between additions. Scrape the sides of the bowl down, add in the coconut extract and whisk another minute.
Pineapple Syrup
- Place the pineapple juice and sugar in a sauce pan.
- Let it boil for a minute and turn heat off. Cool completely before use.
- Add in optional rhum.
ASSEMBLY
- Cut the cake layers into two with a serrated knife. Place one cake on the cake board or serving plate.
- Drizzle the pineapple syrup on the cake. I like to use a squeeze bottle to put the syrup in. You can also brush it on the cake using a pastry brush.
- Pipe a dam of buttercream all around the cake and fill with the cream cheese frosting.
- Do this to all cake layers except the last one.
- Frost the cake with the buttercream. Place it in the refrigerator to chill and firm up.
- Add the watercolor effect with buttercream if desired.
- Place the buttercream pineapples.
- Add the cocktail umbrellas.
- Serve, dance and enjoy ;)

Now, doesn't this look like fun in a plate?
Go, and make it... NOW!
Party on,

Home Page › Delicious Cake Recipes › Piña Colada Cake
The images, tutorials and content on make-fabulous-cakes.com are protected by copyright laws. DO NOT distribute or copy the content without written permission. DO NOT edit, crop, or remove watermarks from any image or video. If you intend to use any of the text, templates or images within, it must be linked back to this site with credit given to www.make-fabulous-cakes.com. For questions contact us HERE.
Disclosure: Please note some of the links in this post may be affiliate links, I will earn a commission if you decide to make a purchase. This doesn’t cost you anything additional and I truly appreciate this support, thank you!

Hi, I'm Darlene. I'm the creator, photographer, baker, recipe tester of Make Fabulous Cakes. Welcome to my sweet world!
MORE ABOUT ME >>
most popular posts
 |
 |
 |
 |
 |
 |
Recent Articles
-
Fabulous cake decorating ideas, Recipes and Cake Pictures.
Mar 25, 24 09:44 AM
Cake decorating ideas with lots of cake tutorials, cake recipes and inspiration for beginners and the more experienced cake decorator. -
Harvest Buttercream Flowers Pumpkin Cake Online Class
Sep 14, 23 09:19 PM
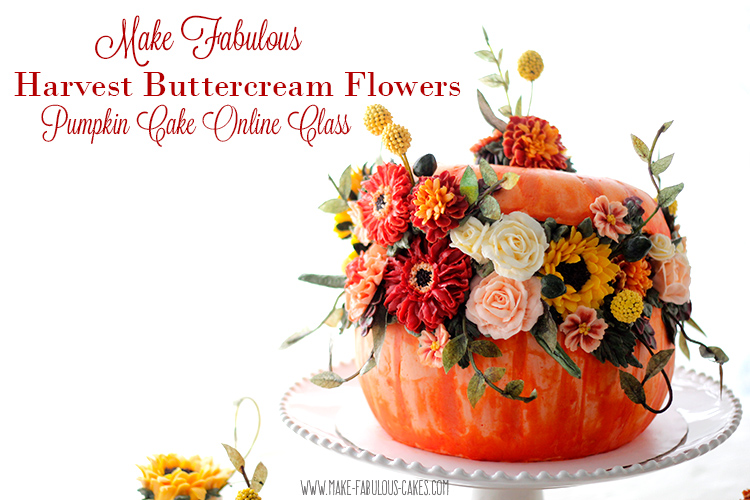 Make a beautiful Pumpkin Cake with fall themed buttercream flowers and wafer paper leaves and more!
 -
Rainbow Cupcakes
Sep 08, 23 12:13 PM
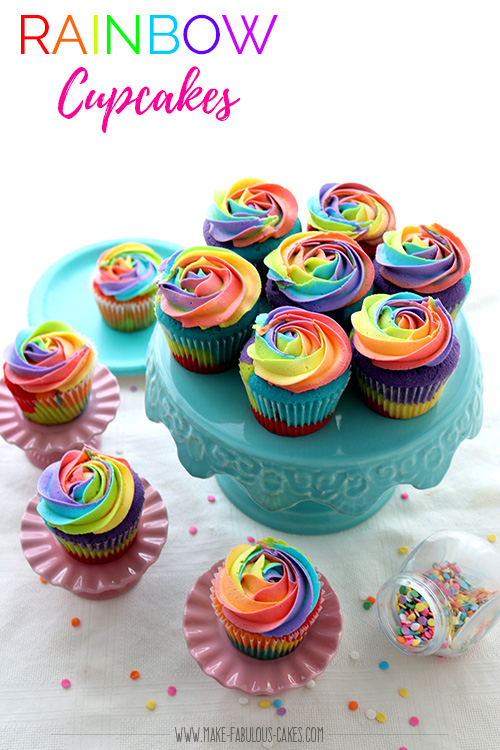 Discover the magic of rainbow cupcakes with this colorful and delicious recipe. Taste the rainbow today!"
online Classes

Featured in:
 |
 |
 |


