|


A Ladybug Birthday Cake
This post may contain affiliate links. Please read my privacy policy and disclosure.
I jumped upon this opportunity to make a ladybug birthday cake for a sweet little girl's 2nd birthday when the mom asked me. I find ladybug birthday parties very cute and I even wanted to have one for myself. And the mom even wanted me to make matching ladybug cookies. Now, how fun is that?

FOR THE LADYBUG CAKE YOU WILL NEED:
Here is the list of items that I used to make the ladybug:
ball cake pan
jumbo muffin pan
buttercream
rolled fondant (in red, black, a bit of pink and white)
gum paste flower wires
gum paste veining tool
round cutters (different sizes)
round pastry tips

For the ladybug, I baked the cake in a half a ball pan for the body and a jumbo muffin pan for the head. If a jumbo muffin pan is not available, a small ball pan can be used instead. Or the head can also be carved from a regular round pan too.
Cover the half a ball cake with some buttercream then with red fondant. Cut out ome black fondant rounds for spots and attach them to the body. Draw a line in the middle by using a gum paste veining tool.
For the antenae, the wires used are those made for gum paste flowers - the ones that are covered with some sort of paper. Roll a log of black fondant, moisten the wires with water and insert in the log. Make small heart shape from black fondant and insert on the ends. Let dry.
For the ladybug's head, cover the cake baked from the jumbo muffin pan with buttercream the with black fondant. Cut 2 circles from the white fondant for the eyes. Then with a pastry tip, cut out 2 smaller rounds from the black fondant for the pupils. With an even smaller round pastry tip cut out 2 white fondant circles to place on top of the black circles.
Use pink fondant circles for the cheeks and a strip of white fondant for the mouth.
LADYBUG CAKE DECORATIONS
Here are more detailed pictures of the cake with some quick overviews on how it was made.
The big white flowers were cut using the FMM 5 Petal Rose Cutter. The leaves were cut with a tear drop cutter, then painted criss-crossing lines with green gel color.

Celebrant's name was cut with letter cookie cutters, then black spots were added. Small fondant flowers were then added for accent.

The little ladybugs were made with red fondant shaped into an oval for the body and round black fondant for the head. A line was made in the middle of the red oval then spots were added using black buttercream.

Here are the cookies that went with the cake.

Each package had a ladybug and a flower.

And here they are packed and ready to go.

Have fun making this ladybug cake!
Love lots,

Home Page › Kids Birthday Cakes › Ladybug Birthday Cake
The images, tutorials and content on make-fabulous-cakes.com are protected by copyright laws. DO NOT distribute or copy the content without written permission. DO NOT edit, crop, or remove watermarks from any image or video. If you intend to use any of the text, templates or images within, it must be linked back to this site with credit given to www.make-fabulous-cakes.com. For questions contact us HERE.
Disclosure: Please note some of the links in this post may be affiliate links, I will earn a commission if you decide to make a purchase. This doesn’t cost you anything additional and I truly appreciate this support, thank you!

Hi, I'm Darlene. I'm the creator, photographer, baker, recipe tester of Make Fabulous Cakes. Welcome to my sweet world!
MORE ABOUT ME >>
most popular posts
 |
 |
 |
 |
 |
 |
Recent Articles
-
Fabulous cake decorating ideas, Recipes and Cake Pictures.
Mar 25, 24 09:44 AM
Cake decorating ideas with lots of cake tutorials, cake recipes and inspiration for beginners and the more experienced cake decorator. -
Harvest Buttercream Flowers Pumpkin Cake Online Class
Sep 14, 23 09:19 PM
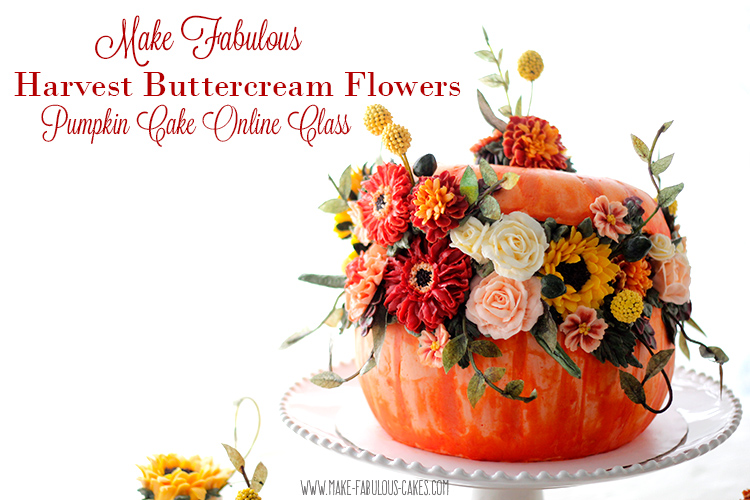 Make a beautiful Pumpkin Cake with fall themed buttercream flowers and wafer paper leaves and more!
 -
Rainbow Cupcakes
Sep 08, 23 12:13 PM
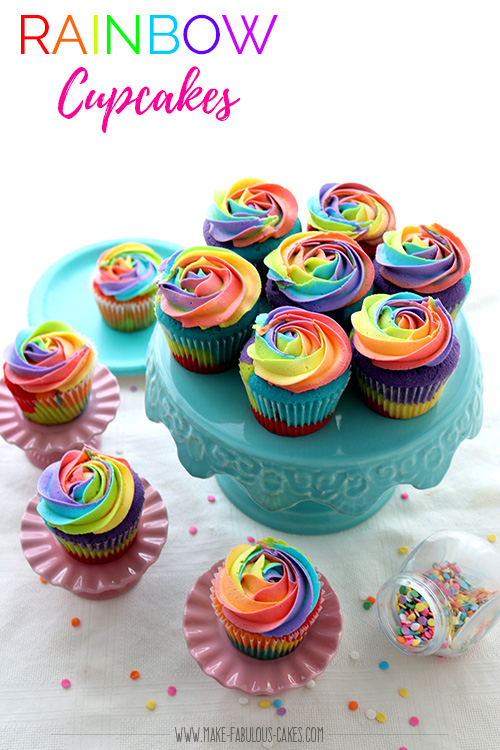 Discover the magic of rainbow cupcakes with this colorful and delicious recipe. Taste the rainbow today!"
online Classes

Featured in:
 |
 |
 |


